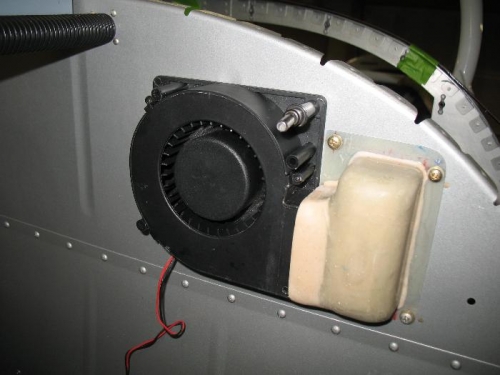
I finished up the cooling fan project almost. After sanding the duct down some I installed the duct with screws and match drilled the fan to the baggage wall. I then drilled for the nut plates and rivets only to discover I am out of K1000-8 nut plates. Time for an order!! I pulled the power wire and used the existing tooling hole with a rubber grommet. The ground will be done locally IAW the directions. I hooked up the battery and gave it a test and it works great. I used and inline fuse since don’t think I needed to go through the complication of hooking into one of the circuit breakers. I only have a hot battery bus using automotive style blade fuses; I decided to use an inline fuse off the switched side of the battery relay to power the fan. If I find I have more accessories to hook up I might end up installing a “switched” battery bus. For now this will work fine.
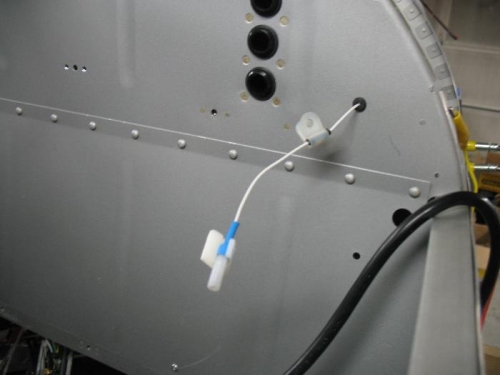
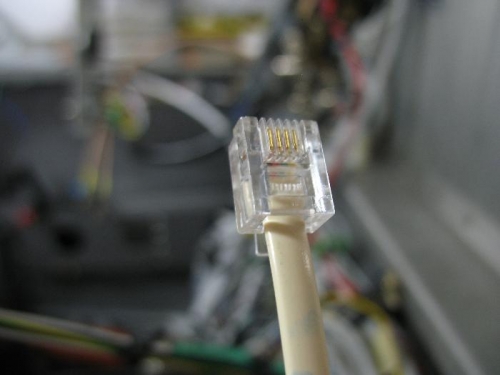
I needed to shorten the ELT control cable which is just old fashioned 4 conductor phone wire with phone jacks for connections. I bought the tool and phone jacks ages ago but I am just getting around to using it. I wanted to make a practice crimp since I have never used this tool, I made the connection on the scrap cable and tested the continuity of each pin. Confident that I could do a good job I cut the cable to length with some service loop in case I messed up. After the jack was installed I hooked up the ELT and tested the function of the buttons on the control panel and it all worked as advertized.
Fan drilled and clecoed in place for testing.
I used the tooling hole for the power wire. GND will be local