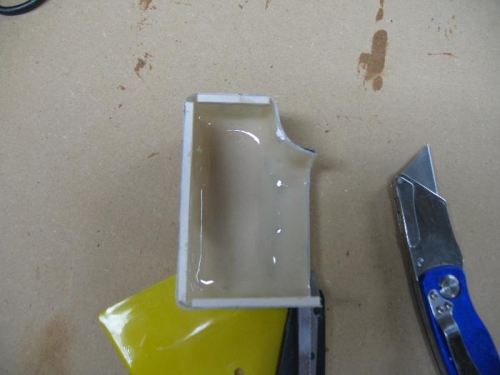
Brief Description: 1: Sanded and formed cooling duct
Happy New Years, I am certain that this will be the year my plane flies!!!
I removed the peel ply and sanded down the duct. The bottom edges ended up a little wavy so I glued on some balsa to stiffen them up some. Eventually this will get glued with epoxy on to the flat bit but I need it in two parts until I drill the holes in the baggage wall.
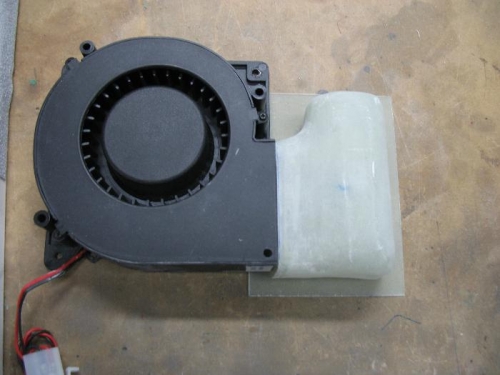
I cut a cube of Styrofoam to form a duct between the duct I have already made and the opening of the fan housing. I laid the cloth on this a left it to cure.
With the remaining resin I mixed up some micro to a thick syrup consistency. I applied this onto the inside. The idea here is that I wanted as smooth a finish on the inside as possible to lessen any friction that will slow down the airflow. The fan puts out plenty of air but I am learning how to use these materials so by taking this extra step, even though it is kind of over kill, I am learning more and getting experience working with this stuff.