Brief Description: New flap blocks, front consoles
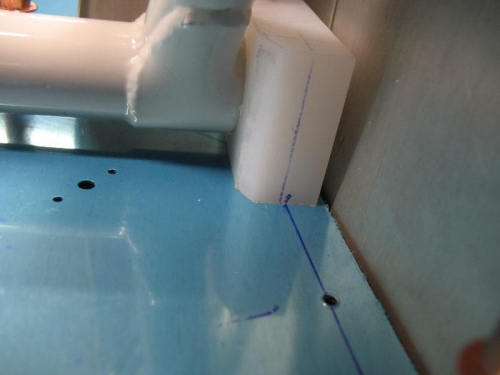
Well yesterday I receive the email that my parts order from Van’s had shipped and true to form they showed up here the next morning. Well I tried a different tack with the flap bearing blocks. Even though I had measured for the holes from the wrong side of the block on the first try I still did not feel like it was going to come out in the middle of the longeron. So what I did was drill for the aft hole then installed the blocks with the weld mount and marked the block for the forward hole where the center of the longeron is located. Then I removed the block and drilled the hole based on this reference. In order for the hole to be centered on the longeron on my airplane, it had to be 10/32 from the outside of the block verses the 12/32 (3/8) the plans called for. I know it did not seem like much, but the extra effort to make sure it was centered was worth it for me.
I drilled and deburred the holes for the two nut plates that will secure the forward end of the flap bearing block and then I proceeded to deburr all of the holes in the support ribs that support the floor. This needless to say took a while since I had to do it all by hand since my power driver would not fit on the underside of the ribs. The next step was to countersink the longeron for the flush rivets that hold the nut plate. I would have installed the nut plates but I only have one, for some reason I am missing one.
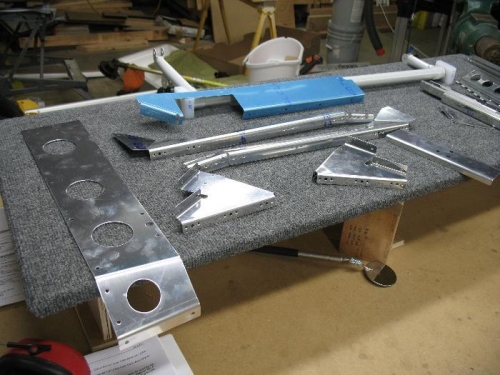
Next I moved onto the left console, there are a lot of nut plates in the parts so the first step is to drill and ready the parts for the nut plates. So I removed the plastic from the parts and readied everything for primer which I will do tomorrow. I have all of the stiffeners that are ready for primer and while I am at it I will prime the floors. I still have not decided on an interior color so the tops of the floors can wait.
The full length line shows the location the plans called for, the little mark is what I used.
Centered! The blue dot is where my first try would have ended up if I had drilled the hole.