Brief Description: Left elevator stiffeners, E-615 plate nuts
Today I started on the left elevator stiffeners. I had already fabricated and primed them so all that was needed was to drill the holes to size. I also deburred and dimpled the skin and stiffeners do they are ready for rivets.
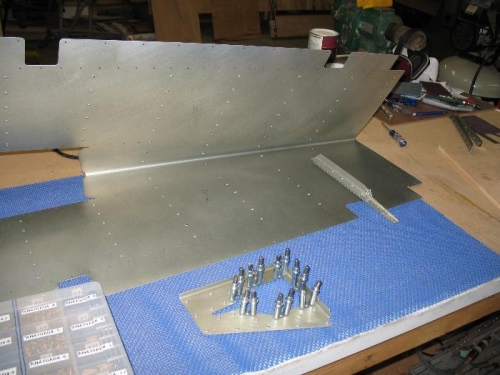
I then started looking at the E-615 trim module reinforcing plate. You have to install #6 plate nuts, but the instructions do not mention them. The only reference is in the DWG. I thought that it made sense to install the plate nuts before riveting the plate to the skin. This got me to thinking, “how do you install these buggers”. After some lengthy research on VAF and my various manuals I had a plan. I have the narrow female die, so putting a dimple in the wings of the plate nuts would not be a problem, do I drilled and dimpled everything and am now ready for the riveting. The other option is to machine counter sink the wings of the plate nuts and use another type of rivet. I will see how it turns out tomorrow.
BTW if you did not know the plate nuts allow you to use screws to intall and remove the electric trim module that will control the elevator trim.
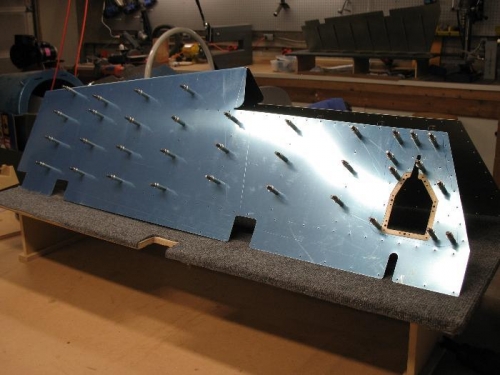
Left elevator ready to drill
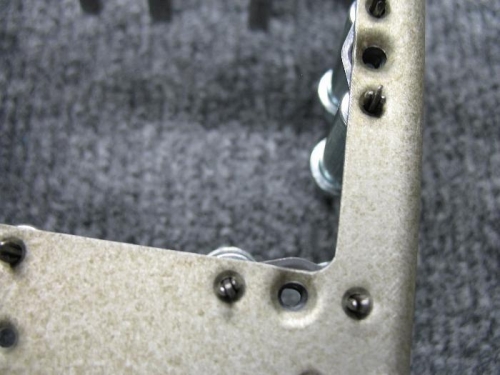
standard #40 dimples on the wings, # 6 dimple for the screws