Today I continued work on the rudder under structure. I was hoping to have the new stiffener but alas the FedEx guy screwed me. He came by this morning and delivered a package which my wife picked up from him at our front gate. It was from Van’s but was 1 of 2 packages. I called FedEx and they showed both as being delivered, so they are now investigating. My assumption is he scanned both for delivery but only handed one of them to my wife. Mesmerized by her beauty I am sure, how can you blame the guy.
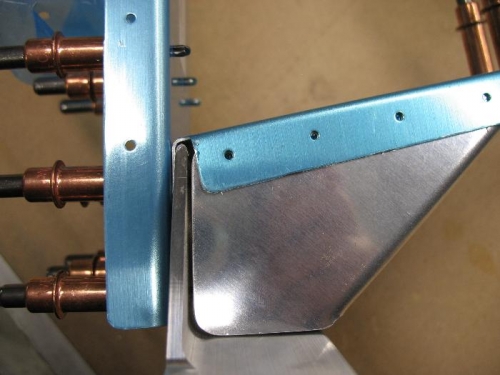
After some very informative information from VAF forum I determined the best place to cut down the 710 brace, which was directly down the middle of the tooling holes. This worked out great, from the picture you can see that the holes will fall at or above what is required for edge distance. I might have been able to leave it a little longer but I am happy with what I have. Just info for those who are about to do this cut!
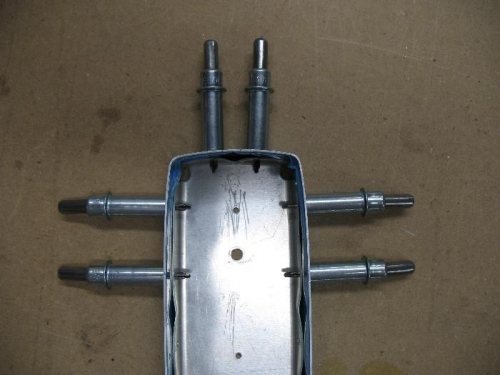
I then moved on to the upper rib, you first cleco and drill the holes that attach to the spar that is after fluting the rib so that the holes all line up nicely. I had to clamp some strips of aluminum on the sides because there are only two holes so when you remove one cleco to drill the rib wants to move around. My rib had a fairly good bow in it. The next step has you remove the rib and cleco on the 713 counter balance skin. You then flute the nose flange so that two holes in the flange line up with the two holes in the 713 skin. Does not seem like much but this took me some time. The two holes are slightly wider than they needed to be so I thought one small flute between the holes and I will be set. Well it took a good sized flute to get them line up and even then it took some small amount of force to insert the cleco. You can see the flute in the photo. One of the holes looks slightly elongated; I am not too worried this is just a narrow strip of aluminum that the top tip will eventually fasten too. If after dimpling I am not happy with the hole I will step up the hole to