Today was a fairly productive day on the project. I am learning how everyday life can keep you from making the progress you would like to make. I took a couple of days after an 8 day trip away from home then we had weather and another roof leak to deal with at home. It rained more than I have ever seen it rain, and that is saying a lot for the NW. My shop is in a basement level garage, which has always stayed dry but with this rain I had water and air hissing up through cracks in the floor. I guess I should have epoxy treated the floor, but I lived here for 10 years before starting the project and there was just too much stuff to move.
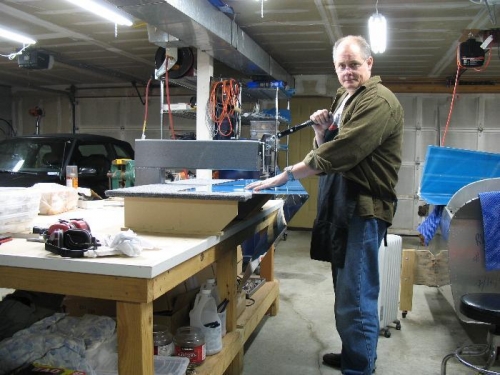
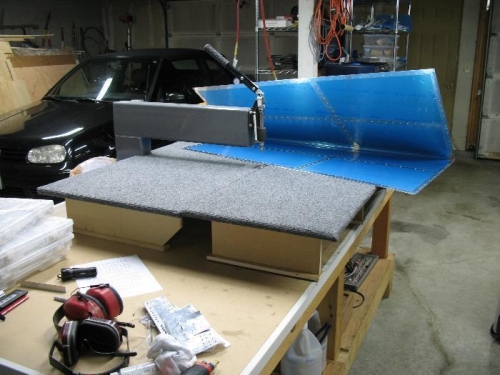
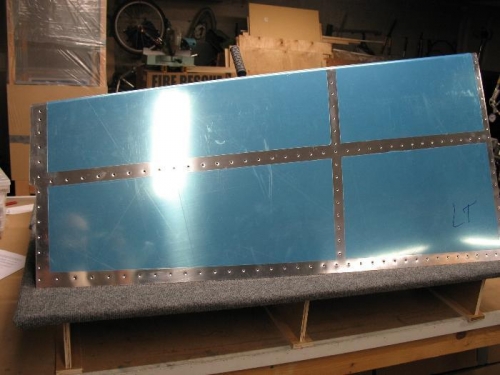
Well today I finished the deburring of the HS parts and started to dimple the parts. I was able to use the new table extension for the DRDT dimplier which worked well (see self portrait photos). I also realized that I could get to the holes closest to the leading edge of the skin (near the bend) by hanging the dimplier near the edge of the table. It is designed with just the perfect angle. I only had one hole that I could not reach with the dimplier. I first tried to use the pop rivet dimple die set to do this hole but it just did not seem to make a nice clean dimple. I ended up using a flat bucking bar with hole drilled that was counter sunk with the 100 degree angle. I put the bar behind the hole then put in a rivet though the skin and into the hole in the bar, then tapped it with a flush rivet set on like 25 psi pressure. Still not like the DRDT dimple but better than the pop rivet method. I did not think this up on my own, in the training project directions that Van’s sells they tell you how to make this type of dimple device. I bought a small section of steel that was from a brush hog mower, and then polished it up some. This flat steel makes a nice bar for bucking the rivets on the outside and at the trailing edge of a control surface. You lay the bar on the rivet head to be formed then hit the bar with the rivet gun. I will have to add a picture of it.