Well as you can see from the log it has been over a month since I did any work on the project. I had to get a requal simulator after my operation and then we went on a vacation to Spain for a week. I then had a marathon stretch of 15 days of work. Once I was home there were household chores to take care of then the 4th of July so now I am finally getting back to work on the plane.
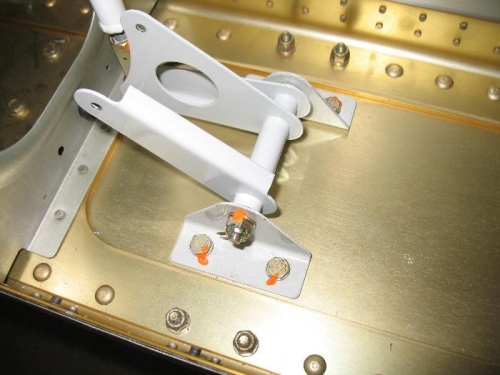
I started work by getting the shop re-organized then I finished up some things with the (R) bell crank. I needed to grease the pivot point and then torque and mark with sealer all of the bolts. With this done I clamped the right flap in place taking several measurements to make sure it was even with the aileron and that I had the proper spacing between the flap and aileron. I then drilled each skin to hinge hole using first a #42 drill bit then I finished each hole up with a #40 ream.
Like the left side I used 6 keeper rivets to hold the skin to the flap brace in position. I did bugger up one hole. The keeper rivets need a countersink in the hinge side of the skin so the hinge will lay flush while being clamped and drilled. On one of the hole I countersunk the wrong hole; the hole already is counter sunk from the out side so this really made the hole too large for a -3 rivet. I plan to drill the hole up to #30 and use on of the -4 oops rivets I bought but have not used as yet.
Bell Crank greased and torqued
Flap clamped in place
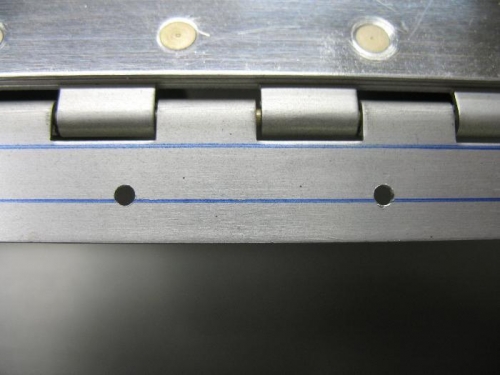
Blue line is min 3/16 edge distance, as you can see no problems