Brief Description: Marked holes to push rod end, drilled gap and flap
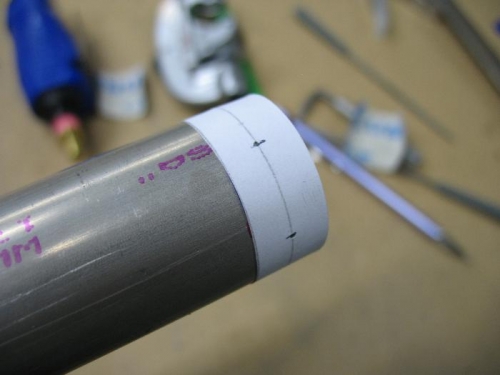
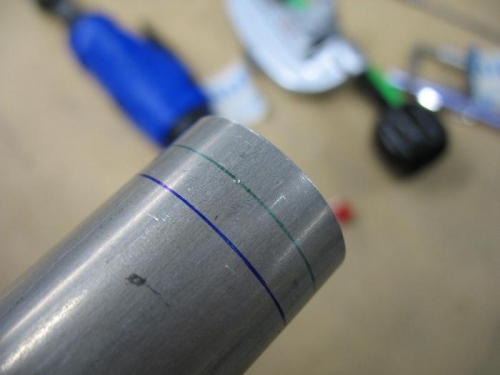
I spent most of the morning (not included in the build time) doing some review of geometry. I wanted the 6 holes that get rivets on the ends of the push rods to be equally spaced around the end of the tube. I know I could have eyeballed it but I wanted this to be exact. So after calculating the circumference of the tube and dividing that by six I cut a slip of paper to six with the six marks for the rivets. I then taped this to the end of the tube and used a center punch to mark where the hole will go. I only marked for three holes because I have my drill press set up so as I drill one hole I just continue through the other side of the tube for the hole on the opposite side. As you can see from the photo the punch mark is right on the line I had planned it to be on.
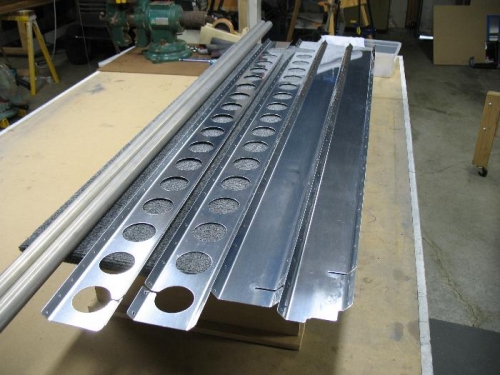
I still had to finish up the flap brace and gap seals. I had only drilled the rear spar holes because the instruction step said to attach them to the rear spar but said nothing about attaching them to the skins. Well the flap brace need to have countersink holes to accommodate the dimples from the skin so I had to drill on the skin to brace holes. After doing this for both the gap seal and flap brace for both wings I deburred all of the parts. I need to prime the inside of the push rod tubes so I am trying to get some more parts together for a painting session. That is it for today, oh and I am finally caught up with my log entries.