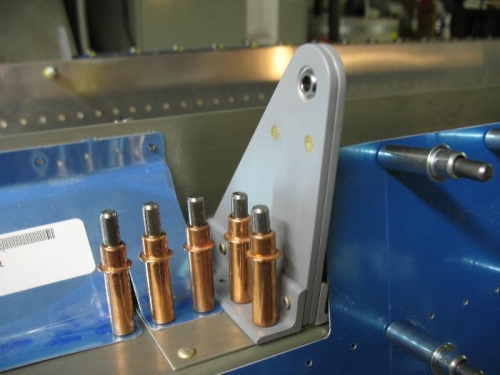
Brief Description: Primed and then riveted aileron bracket
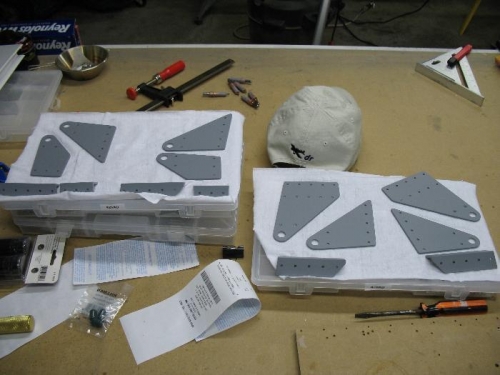
I really like a day when I get to riveting, the aileron brackets I did all in one day for the most part, they were pretty much ready for priming today, I just needed to drill them and then scruff and clean them up. Well I noticed after drilling out two of the brackets that they come from the factory already drilled or punched to size (not like the tail which was undersized), in fact I think drilling them just enlarged the holes some. I guess it does not hurt to smooth the holes a bit; I was actually using a #30 reamer instead of a drill bit. After one more test fit and marking the holes that needed to be counter sunk it was off to the drill press. I am so glad I made a trip to the Boeing Surplus store before they closed this year. I have 5 counter sink cages that I picked up for like $20. One of the cages has half the cage removed; this came in handy since one of the angles has to get a counter sink put into it. The full size cage gets in the way. Without the counter sink cage you have to use the “suicide” method which means you run the countersink bit without the cage and hope you hold the thing square and plumb as you go and stop before you go too deep. Since I could use the drill press mine turned out great.
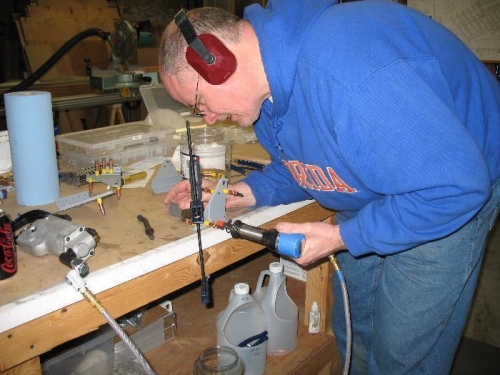
After priming and letting it dry I started on the riveting. The plans have some close tolerances and tell you that you do not need to prime the mating bracket parts, just the angle bits that get riveted on. So I clecoed the parts together and primed them that way, so I have metal to metal on the big bracket parts which should allow for a nice tight fit once riveted. The riveting went pretty well, I could squeeze the 4-9 rivets but the 4-11 rivets here too long for my squeezer, I need a yoke with a larger throat. There were only 3 rivets on each of the middle brackets that I could not get with the squeezer so I just clamped it to the table and bucked those rivets. I sure love the pricey tungsten bucking bar! All in all a worthwhile day in the shop, it is back to home maintenance tomorrow.
Waiting for primer to dry
My yoke was too small for the -11 rivets so I had to buck them