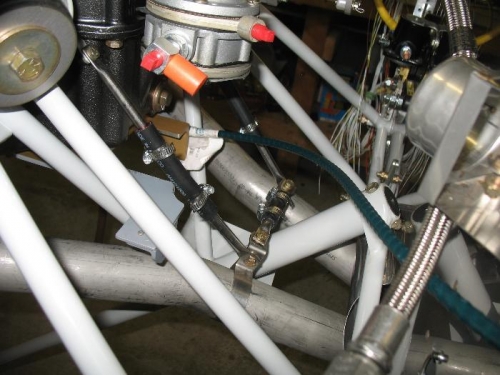
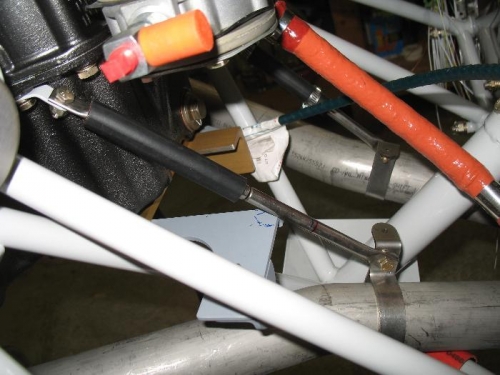
Part two today was to move onto the exhaust hangers. I had them close but want to final install them so I can better route hoses and the other cable. I first installed the right vertical hanger which was straight forward. In doing the left I had to move to another sump bolt due to angle and things not lighting up. This tube came close to the aft end of the mixture cable bracket. I cut a small radius to give the tube a bit of clearance. Everything is connected to the engine so it should all move with the engine but I hear air loads can lift the exhaust pipes some. At any rate there is no clearance issue now. The next thing to tackle was the cross tie between the two pipes. This ended up being exactly 4” between the two pipe clamps. After getting it all installed it is a surprisingly solid installation I will be taking some of it apart since I did not really prepare the exhaust ports (as in clean them up) for a full install of the exhaust. My plan is to get some of the hose and wire routes planned and then while the exhaust is off install them while I have easy access to the sump bolts. Good work today!
All the hangers are done.
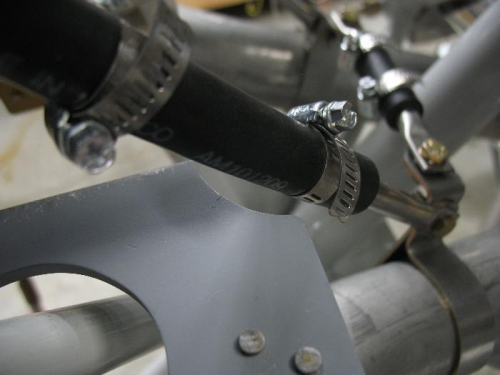
They are two parts with a rubber tube between so they can flex. Max 1/4" gap.