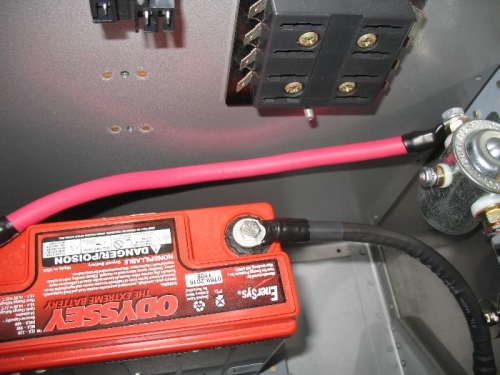
I got serious about running wires today, although I did not get that many run. I started at the battery. I turned the battery around 180 degrees from the way I had it planned. I did not like the tension put on the positive battery cable making the short run from the relay. I made up new cables and installed them. I then wired up the “BATT” side of the master switch and with a test light checked the continuity of the circuit. As you can see from the photo is worked. This is a milestone since this is the first working part of the electrical system. I also tested that power was getting to the start relay and that the relay actuates.
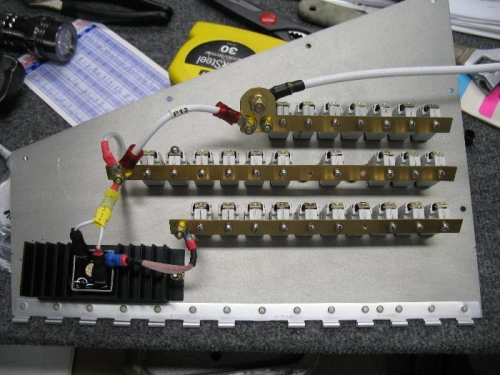
Next was the main power cable to feed the main electrical bus; I am using a 6AWG cable; it runs from the side of the battery relay to the main bus. I drilled a 3/8 hole to take a rubber bushing and installed the bushing. After cutting the cable to length I crimped on the terminal that attaches to the main bus. I took the CB panel out to do this work, I still needed to install all of the screws that attach the CBs to the bus, I only installed a few for my test fit. I set the torque on all of the hardware on the CB panel except the main bus feed; I need this to be flexible until it is all fit in place. I will have to support the main bus feed wire since right now the only support besides the terminal connections is the bushing through the bulkhead.
"BATT" selected and the light works :)
New battery cables installed, you can see the short run from the relay if the battery was 180 out