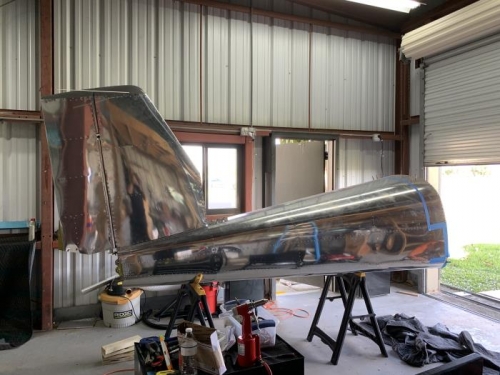
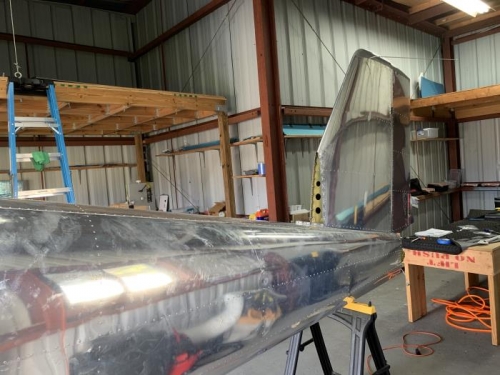
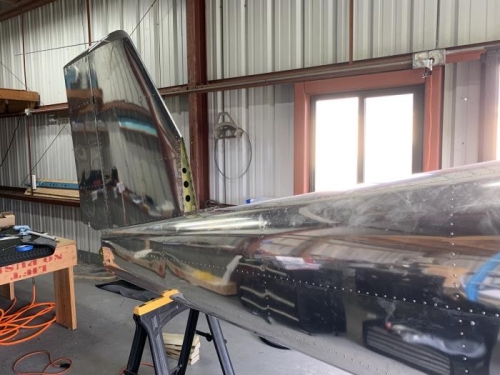
Brief Description: Completed Vertical Stabilizer Modifications for IF
Step 8 page 42PiS-02 - Dimpled all #27 holes for #6 screws. Third hole from Aft on the left side was dimpled too high causing a larger hole and cracking the skin. Called support and per email recieved Monday 11/18/2019 from Sterling in Van's Support, File, re-dimple and continue. No need to replace skin. If necessary fill crack with Tank Sealant prior to painting.
Temporarily secured the AV-532L Antenna onto the F-000206 then onto the VS-1205 with 2 AN3-13A as shown in Figure 1 page 42PiS-04.
(Step 5) Marked the VS-1201 skin with the logitudinal position of the AV-532L Antenna elements per Figure 1 same page. Measured the vertical height of the AV-532L Antenna elements above the top edge of the VS-1201 skin and recorded the measures as 6mm on the left side and 6.34mm on the right side. Removed the AV-532L from the V-Stab Assembly.
Installed the VS-1213 onto the V-Stab Assembly with #6 screws and transfered the Position marks made in step 5 from the VS-1201 to the VS-1213. Measured and marked the heights recorded above to the VS-1213. Removed VS-1213.
Cut notches on both sides of the VS-1213 to accomodate the AV-532L Antenna elements as shown in Figure 1 page 42PiS-04.
Drilled a #19 hole in the VS-1208 Rib 5/8 inches from the aft edge of the aft most lightening hole as showing in Figure 1 page 42PiS-05. Deburred hole.
Fabricated the F-00204 Nav Antenna Conduit by cutting a piece of NT Duct 5/8 to a length of 44.5 inches.
Routed the F-00204 through the aft most set of lightening holes in the ribs of the V-Stab Assembly per Figure 2 page 42PiS-05. Secured the F-00204 to the ES-00301 on the top of the V-Stab Assembly per Figure 2 same page. Secured the bottom of the F-00204 to the VS-1208 using two crossing tie-wraps through the #19 hole drilled above in the VS-1208 per figure 2 same page.
Installed the V-Stab Assembly to the airframe following Section 11iS/U-02 see next log entry, while routing the AV-532L cable through the F-00204 per figure 1 page 42PiS-09 and using a saftey wire