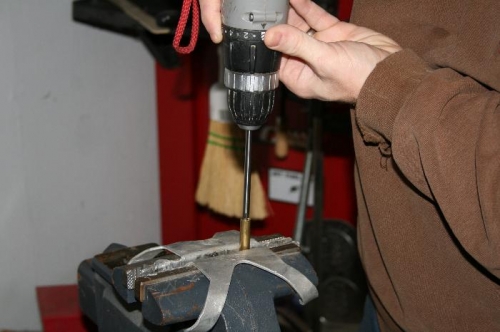
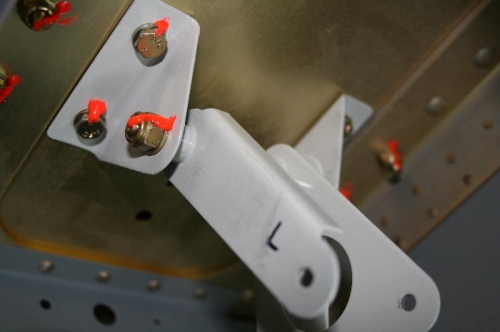
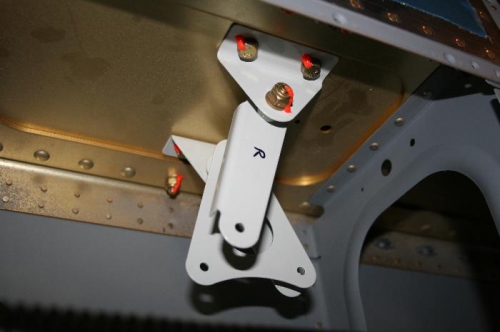
I recieved the reamers I needed from Avery so I can now get back to mounting up the aileron actuation system. In my research something that I had missed before is that rivet holes are drilled, bolt holes are drilled and then reamed to final size. So now that I have the tools, I will use that philosophy going forward. I reamed the bushings for the aileron bellcranks (L/R) and all of the holes for the bellcrank and the mounting brackets. I then mounted and torqued the mounting brackets for both left and right wings and the bellcrank itself. I did lube the brass bushing for the bellcranks with litium grease per the plans. Next step is to hook up the control rods.
Reaming the brass bushing to 1/4 in the vice.
Here is the left one viewed from the bottom. Note I like torque locker (orange)