Brief Description: Install Pushrod Between Right Aileron & Bellcrank
The final aileron pushrod to install connects the right bellcrank to the right aileron. I moved the plywood jig from the left wing to right wing to clamp the right aileron in the neutral position. And with the W-730 jig still in place on the right bellcrank, I adjusted the rod end bearings on each end such that they were centered and had the same number of threads showing on each end. These shorter pushrods are long enough that a second jam nut is not needed. Rotating the pushrods causes them to bottom out on one rod end bearing before disengaging from the other end. Once everything was centered again I used high strength loctite and tightened the jam nuts, torqued everything, and added the orange inspection laquer over everything that could possible come loose.
After removing the plywood wing jig and the W-730 bellcrank jig, I was able to sit in the plane and move the control sticks left and right and watch the ailerons deflect in the appropriate directions. There is very little friction in the entire range of motion. Smoooth!
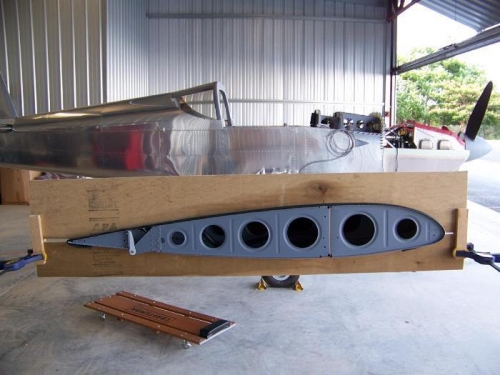
Plywood jig clamped to right wing to hold right aileron in the neutral position
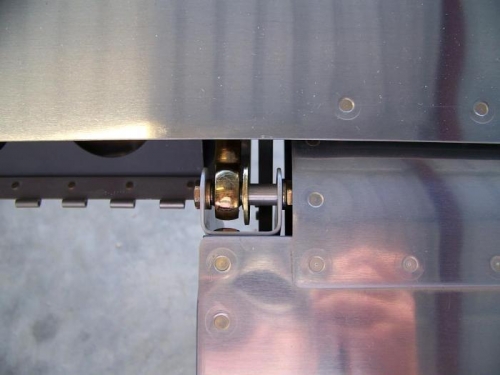
Right aileron pushrod bolted to inboard bracket
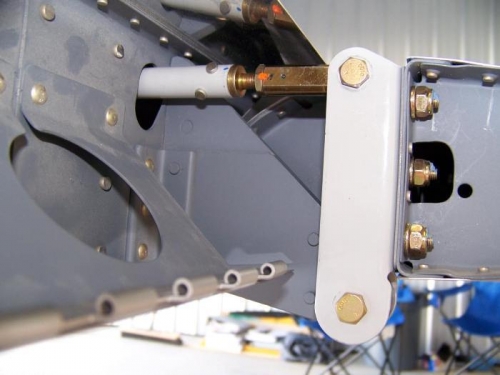
Right aileron pushrod adjusted to the proper length and jam nuts torqued and sealed