
|
|
Dan's Web Site
|
Date: 1-19-2009
|
Number of Hours: 1.00
|
Manual Reference:
|
Brief Description: Debur, Clean, Alodine, Rivet Parts 4&5
|
|
Once all of the countersinking was done, all of the components were deburred, cleaned with acetone, then alodined and riveted together.
You can see in picture #3 how much lower the oil cooler has to sit in order for it to clear the upper cowl as compared to my first attempt on the right.
While the plans say to mount the oil cooler as high as you can on the baffles so there is as much cooling air flowing through the oil cooler and not blocked by the cylinder fins as possible, this can only be done AFTER the top edges of the baffles have been trimmed to fit the cowl.
|
|
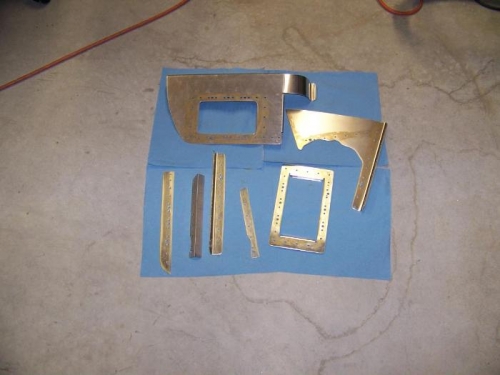
Parts 4&5 and all spacers, doublers, and reinforcement angles deburred, cleaned, and alodined
|
|
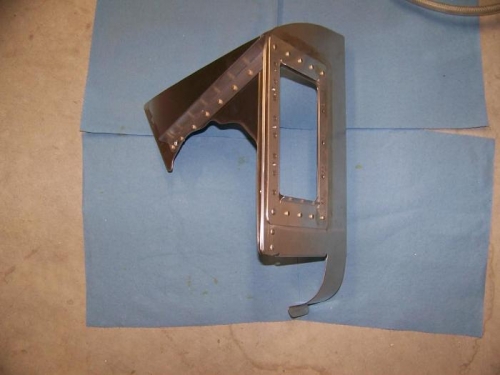
Parts 4&5 and all spacers, doublers, and reinforcement angles riveted together
|
|
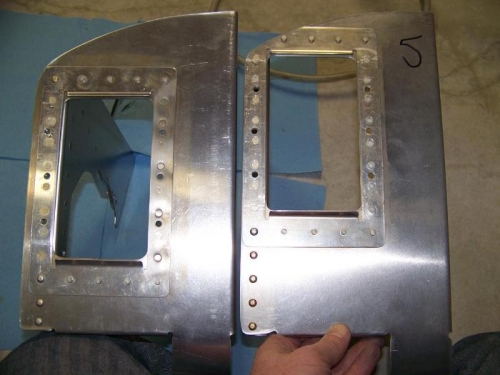
The oil cooler on the remade baffles on the left sits much lower than the first attempt on the right
|
|
|
|
|
|
|
|
|
Copyright © 2001-2024 Matronics. All Rights Reserved.
|