Brief Description: Countersink Screw Holes in Rear Window Plexi
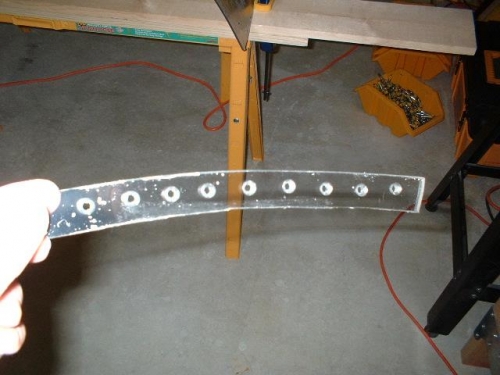
Today I warmed up the basement again and then tried my hand at countersinking plexiglass. First I created a little test strip by drilling a series of 1/8" holes in some scrap plexiglass. Then I practiced countersinking using my standard microstop countersink cage with a #30 pilot countersinking bit. I adjusted the microstop unti I had the perfect depth. To check this I had to enlarge each hole to 5/32" with a unitbit after countersinking the hole and then finally test fit the screw to see of the countersink was deep enough. The whole reason for doing this is because I don't have a 5/32" pilot countersinking bit....so I'm using what I have, i.e. drill the hole to 1/8", countersink with a #30 bit, then enlarge the hole to 5/32" and test the fit of the screw. It only took a couple of iterations in the test strip to get the depth perfect.Once I was comfortable with countersinking plexiglass, I countersunk all of the holes in rear window.