Brief Description: Debur/Dimple Doubler & Top Inboard Skin
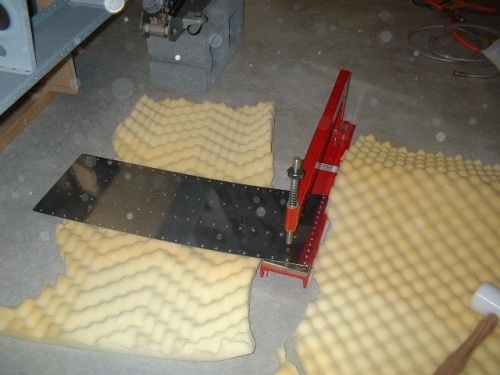
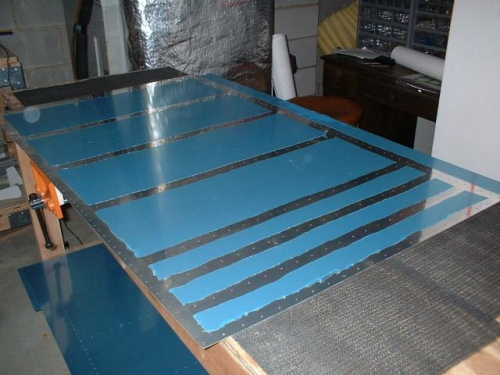
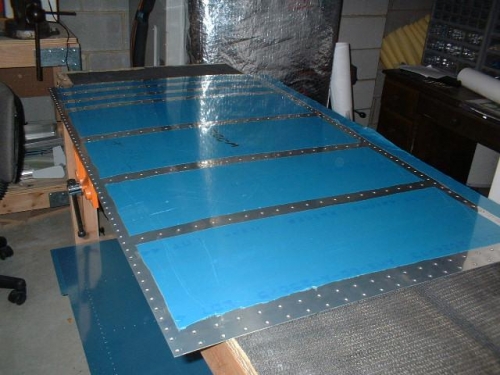
I removed the plastic from the wing walk doubler and then deburred and dimpled it. I think I will prime this piece since the entire surface on one side will be in contact with the main skin and most of the other surface will be against the rib flanges. Next up was deburring and dimpling the top main inboard skin. I decided not to use the dimpling table to do this since the C-Frame sat just slightly too low and required that I use washers on the male die to raise it slightly. I think the washers did not allow the die to sit exactly straight and caused less than perfect dimples. Instead, I placed the C-Frame on the floor with foam on either side. This still did not work very well. The large skin was not completely supported so it was at an angle through most of the dimpling process. When I looked at the dimples closely after I was done, they were better but still not as good as they could be. Now the dimple die is straight but the piece that I am dimpling is not. I have to think of something that will work better for the rest of the skins. Once all of the deburring and dimpling was done for the wing walk doubler plate and the inboard top skin, I deburred the edges with the scotchbrite wheel mounted in the die grinder.