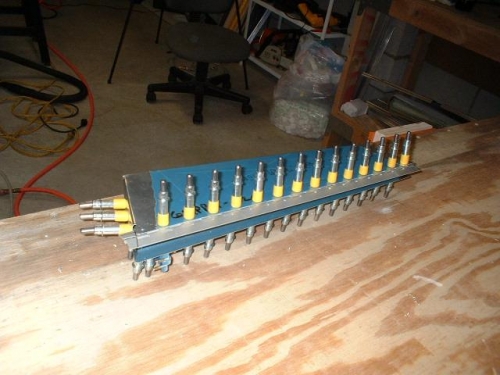
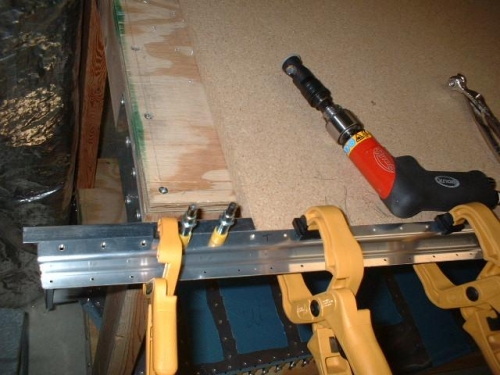
The trim tab hinge was aligned and clamped in place and then matched drilled using the holes in the skin as a guide. Once all of the holes were drilled in the trim tab components, the trim tab was disassembled. Then the top edge of the trim tab spar was machine countersunk. The top edge with the countersinks are for the dimples in the skin. The smooth bottom edge of the trim tab spar is where the hinge will go. I had to use a small piece of 1/8 inch aluminum behind each hole that needed to be countersunk in order for the pilot portion of the bit to have something to use as a guide. Otherwise, the holes would have gotten buggered up.