Brief Description: Rivet ELT & Whelen Power Supply Brackets
Drilling the mounting brackets to the J-channels yesterday was a piece of cake compared to pulling the LP4-3 pop-rivets.
The top ones were a pain because the tip of the puller wouldn't reach down into the channels to fit flush against the heads of the rivets. I ended up sliding 6 washers onto the stems as spacers to pull these rivets. Once each rivet stem popped I had to use a magnet to fish all of the washers out of the channel to use them on the next one.l
The bottom ones were a bear because of the curvature of the skins from the sides to the floor. I couldn't fit the pop-riveter in there. I had to grind a ton of material off the top and aft portion of my puller as well as from the die on the front and I also had to bend all of the stems on the LP4-3 rivets slightly in order to finally have sufficient clearance to finally pull these rivets. This definitely gave me a sore back from crouching in the baggage area for so long.
Anyway, before I riveted these brackets to the fuselage I deburred everything, dimpled for nutplates, riveted the nutplates on, polished the edges, and Alodined the brackets. Once the brackets were riveted to the fuselage I screwed the ELT and Whelen power supply to the brackets. Done deal. Now I just have to wire them up.
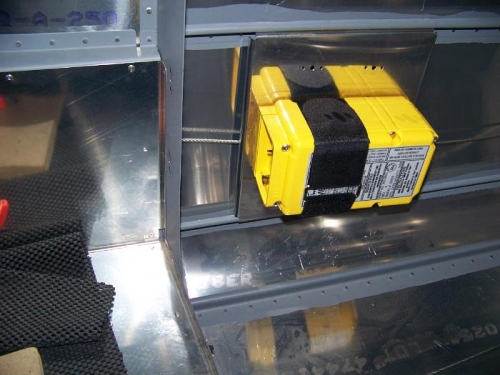
ELT secured on right side, aft of the baggage area
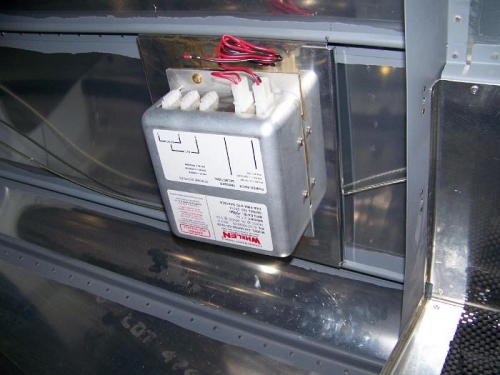
Whelen power supply secured on left side, aft of the baggage area