Brief Description: Mark Centerline; Initial Plexiglass Cuts
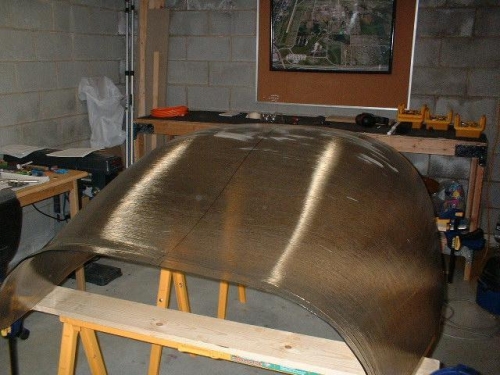
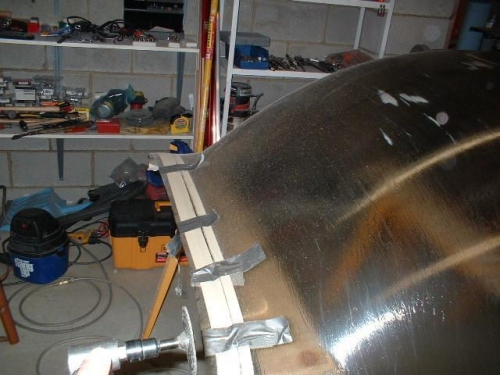
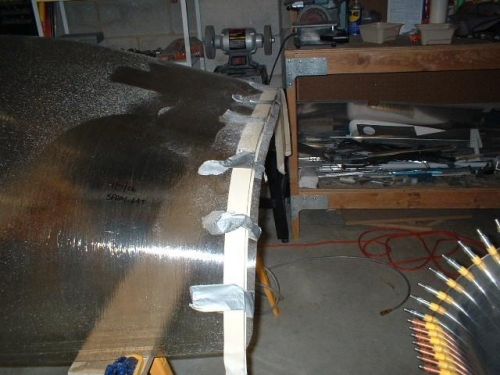
Well, the Spray-Lat is dry, the basement is nice a toasty thanks to my new Kerosene 75,000 BTU forced air heater, I can't postpone this any longer. Time to make the first cuts. The instructions say to mark a centerline down the length of the canopy bubble. Daisy helped me with this. We used the upper line of the clamping marks on each side as reference marks since the bottom edges of the plexiglass along the sides was uneven. I am very glad that I decided to use the Spray-Lat rather than relying on the loose plastic that was originally on the canopy. The Spray-Lat is very durable, the centerline will remain where its at and not float around, and I don't have to worry about particles getting up underneath the plastic and scratching the plexiglass.Based on my initial fitting of the canopy on the fuselage and after reviewing the web sites of other builders, I am being very conservative with my initial cuts. My technique is to use a couple of layers of masking tape on both sides of where I want to make a cut, with the strips maybe 1/16" apart. This makes it very easy to keep the cutoff wheel that I'm using in the die grinder going straight along the line. It just follows the track that I made with the tape.Cutting the plexiglass is a lot easier than I thought it would be. It's just very warm and the dust is very gritty and gets on everything. The hardest part is listening to my poor little pancake compressor trying to keep up with the die grinder. That and polishing the edges after each cut to prevent cracks!