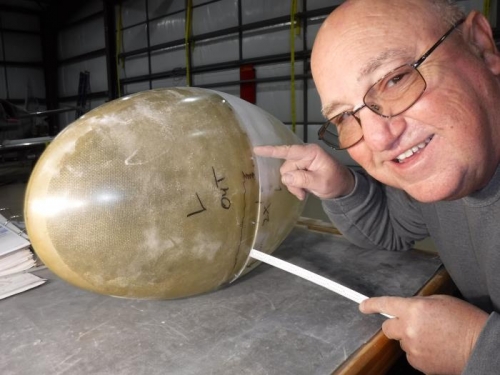
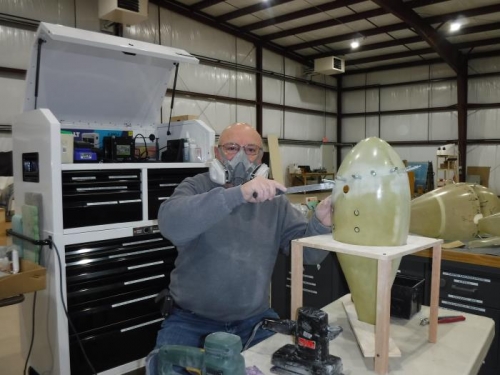
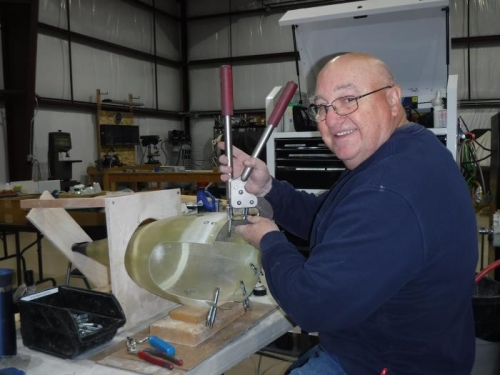
All this week I’ve sanded wheel pants and fairings in preparation for final painting. This is very time consuming. The pants’ halves had a lot of excess material in some areas and not enough in others. In the first picture you can see where I spent several hours sanding with 65 grit sandpaper and a power sander to remove enough surface to get the halves to align perfectly. This same photo shows how much material still needs to be sanded. The next two pictures show me installing the nutplates. The next couple days will be spent laying-up reinforcing fiberglass on the insides of the wheel pants where the wheel-mounting brackets attach and repairing sections of the pants where I created some small divets. Additionally, I will drill 1 1/8” diameter holes in the aft section of the wheel pants so I can add air to the tires without removing the pants. I need to patch one of the 1” holes I drilled for the towbar attachment and re-drill approximately 1/8” forward of where it is currently located. The curvature of the nose-wheel pant made it difficult to make drilling measurements. The towbar will fit as-is, but I don’t want to damage the pant every time I tow. My other option is to make the holes 1 1/8” diameter versus 1”. I’ll look at them today when I fiberglass the insides.