
|

|
|
|
Marlins Web Site
|
Date: 7-27-2023
|
Number of Hours: 12.00
|
Manual Reference: Sec 10, DWG C-2
|
Brief Description: Nose Gear Fairing Over the Gear Stiffener
|
|
As I expected, I had lots of problems with my existing nose gear fairing. I originally installed the piano-hinge nearly 1 inch from the trailing edge of the fairing so the fairing sides would close tightly against each other when the hinge pin was installed. There-in lies the first issue; the hinge pin is abnormally tight within the hinge sockets. In fact, it’s so tight I have to insert the pin using mega-amounts of Boing Lube and a vice grip to insert the pin one inch at a time. Now I have a fat gear stiffener that make this very difficult; to the point where the original hinge rivets are pulling through the nose gear fairing fiberglass. I used an undersized pin to “sort-of” solve the problem and then inserted pop rivets in between each of the original hinge rivets on each side of the fairing. Other than looking like crap, this seemed to solve the problems…until I checked to make sure the fairing is properly aligned with the airflow. True-to-form I was 1/16” out of alignment at the back of the stiffener which equates to nearly 3/8-1/2” deflection to the right at the trailing edge of the fairing. So, it’s obvious I have to move the stiffener, but how do I get the mega-tight hinge pin out of the hinge sockets? Solution…vice grips and a hammer; a very big hammer. I mere hour-and-a-half later, a cracked fairing, and a very bent hinge pin; and voila, the gear stiffener is once again exposed. I’ll start with plan C or is it now plan D, tomorrow. This would have been much easier if Aero Splat had not discontinued sending new fairings, as they did with “Nose Job One!”
|
|
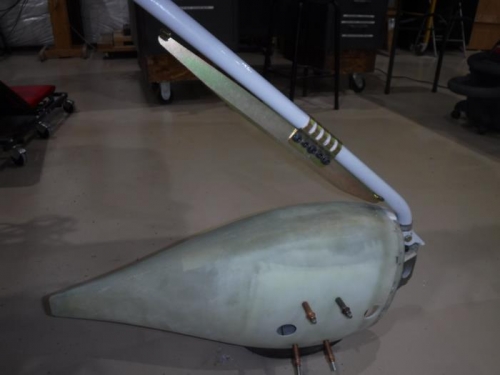
Stiffener Installed
|
|
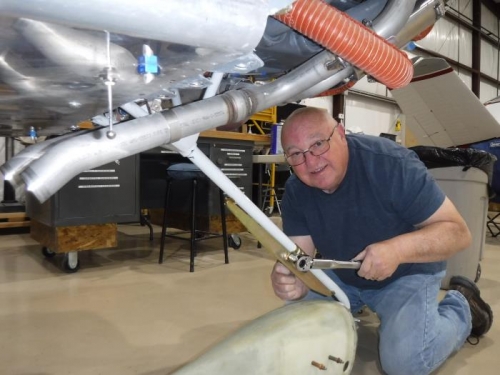
Torquing to150 Inch-Pounds
|
|
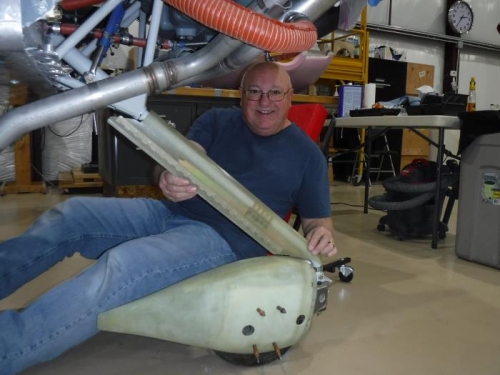
Fairing On and Riveted
|
|
|
|
|
|
|
|
|
Copyright © 2001-2024 Matronics. All Rights Reserved.
|