Brief Description: Nose Wheel Tire Air Door (cont.)
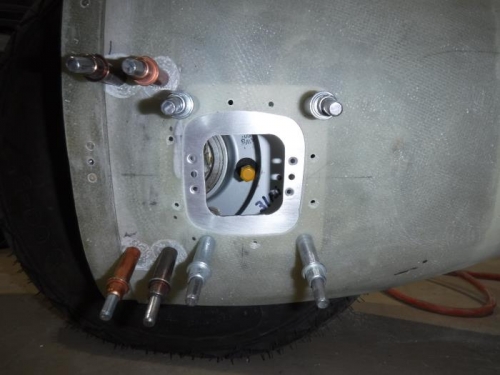
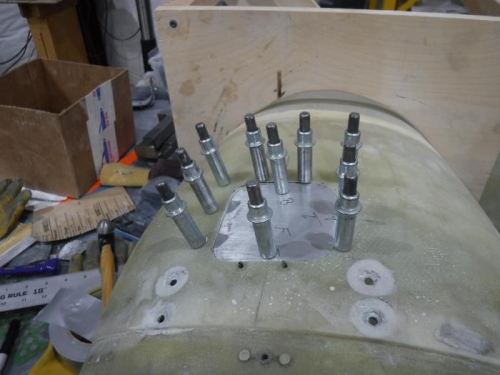
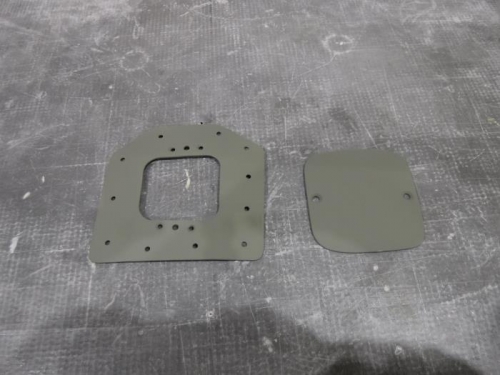
The next step in the process is to form a piece of .065 aluminum sheet to the same curvature of the side of the wheel pant and trace a cutout for the access door. I did the same for the access door back-support, then drilled holes for rivets, deburred, countersunk for rivet heads and did the same to install K-1000 Platenuts for access door flush screws. In pic#1 you can see the back plate clecoed onto the wheel pant, valve step perfectly centered, and holes for the Platenuts. I also used a permanent marker to annotate the correct air pressure next to the valve stem on the rim of the wheel because I’ll most certainly forget what the air pressure for each wheel is supposed to be when I start flying this thing! In the next picture, I carefully cut the access door on my bandsaw allowing for finish-grinding to make a perfect fit. I also marked the top/aft/front of the door because my access hole cuts were not perfect 90-degree cuts and were not perfectly parallel (surprise, surprise)! I sprayed the finished parts with etching primer.