
|

|
|
|
Marlins Web Site
|
Date: 10-2-2023
|
Number of Hours: 15.00
|
Manual Reference: N/A
|
Brief Description: Shelling the Lower Cowl
|
|
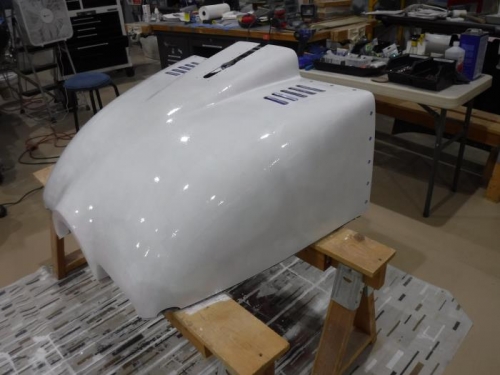
I was concerned the final primer and paint for the fiberglass cowl would not adhere to the glazing compound as well as it would onto West Systems Epoxy and Hardener, so I decided to do a process called “Shelling” I learned from reading Carl Bell’s RV-7A N947CB Kitlog posts. Quoting from his posting, “The process goes like this, mix a batch of epoxy, brush or pour it on the part and then remove all the epoxy as possible with a squeegee or a credit card. Then wait about 2 hours for the coated part to get almost set or tacky, then repeat 2 more times. When done, you have a very shiny fiberglass part, hopefully with all the little pin holes filled.” After reading his post, I modified the process slightly by adding a white-tint paint mixture especially made for epoxy resin to the West Systems epoxy resin and “Slow” hardener (Carl Bell used a fast hardener). Instead of using a brush with a squeegee or credit card, I used a high-quality, foam paint roller. It rolled-on well, but I didn’t realize that when I mixed the epoxy resin, I think I mixed it too vigorously for the required 2 minutes mixing time, and introduced a bazillion little air bubbles. I rolled-on the three coats of white-tinted West Systems Epoxy, but when it dried to a nice shiny-white-coat I had at least 100,000 little “raised” bubbles dried into the epoxy. Not quite the result I was looking for but it looks like I can sand them out if I remove the entire top coat of epoxy. That is what I will be doing next week. Any remaining “pinholes” will get coated with epoxy and microbeads. I hope this process wasn’t a wasted effort and expense. At least I am certain primer and paint will adhere properly.
|
|
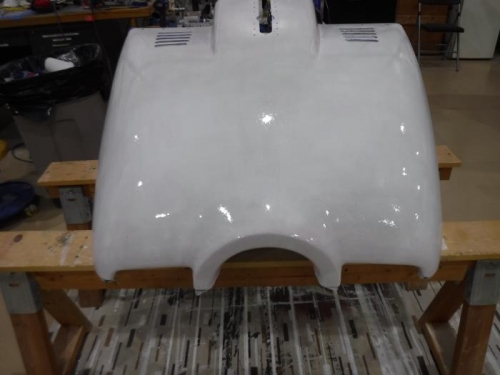
White Epoxy Resin Rolled-On
|
|
Left Side View
|
|

Right Side View
|
|
|
|
|
|
|
|
|
Copyright © 2001-2024 Matronics. All Rights Reserved.
|