Brief Description: Fabricate the Rubber Baffle Seals
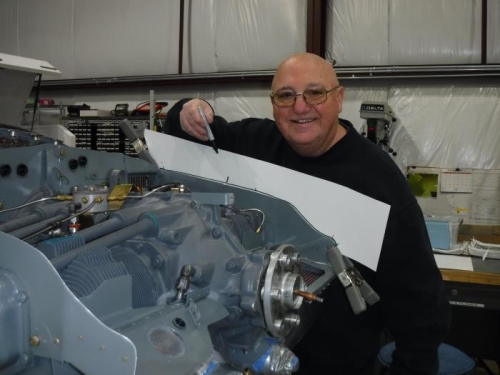
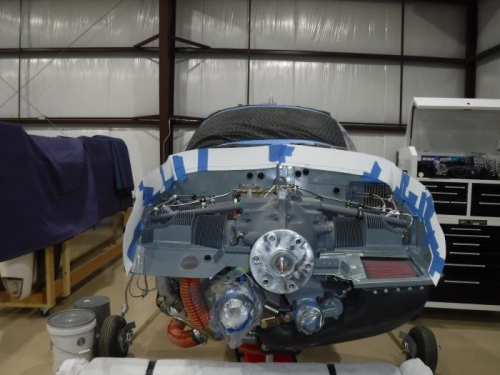
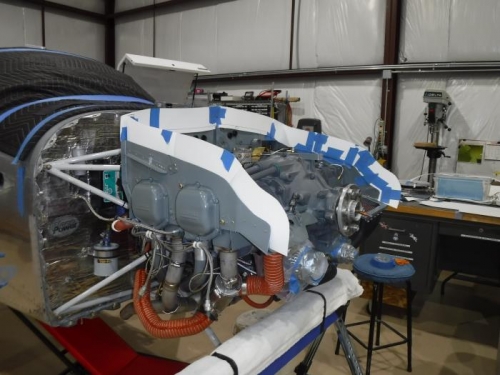
Once again, the plans to fabricate the rubber seals which are riveted to the baffles and are squashed-down by the upper cowling, are pretty-much nonexistent. So, I purchased some poster board and made templates for the rubber seals. The seals will be approximately 3½ inches wide and will overlap onto the baffles approximately ½ inch. Wherever the baffles curve, I will use a corresponding curved section of rubble seal which is overlapped, front-to-back. The first picture is the poster board attached to the outside of the left-front baffling. After I marked and cut, I used a compass to add an additional ½ inch to the bottom and 3 inches to the top of the template. Next, I overlapped the next section of templates until I had templates for all the upper rubber seals. The rubber seal material is 12 inches wide and 4½ feet long, so I will carefully lay the template patterns out on the rubber prior to cutting because I need approximately 12 linear feet of rubber to cover the baffles. This makes for very little waste. I really won’t be a happy camper if I am short a few inches. The rubber seals are pop-riveted and sealed with high temp RTV, onto the baffles. The pop rivets are specially made with a wide head and a washer that attaches to the back-side of the pop rivet. This is as far as I will get on this building project for approximately 6 weeks. I am scheduled for extensive back surgery and will start up again after recovery.