Brief Description: Fabricating and Installing Baffle Tension Rods (Co
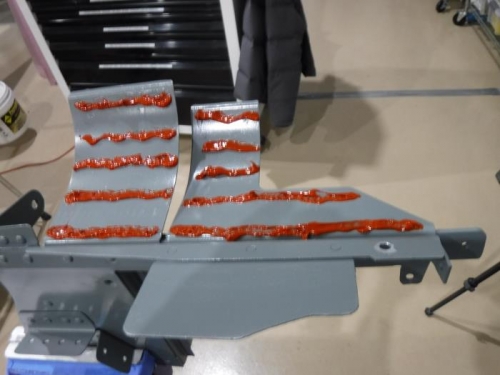
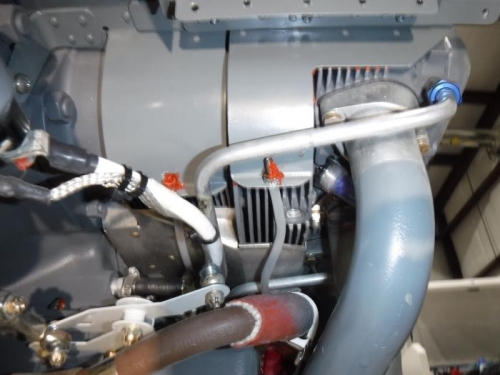
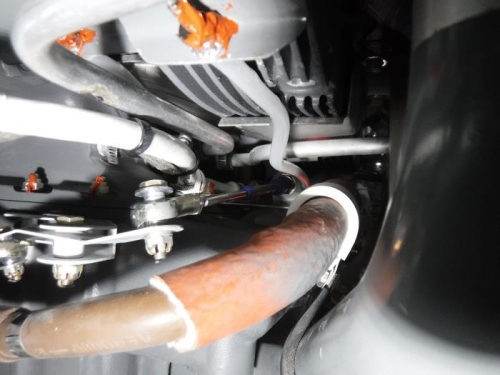
The first picture shows the back of the inside curved baffle with caulking installed. The next two pictures show a side-view of the outboard tension rod installed. Note the ¼” clearance from engine oil lines and the bottom of the engine interior baffles. For those of you attempting to install these tension rods, let me express how much fun it is to get the safety nuts installed on the back of the inboard tension rod. Mind you, this tension rod can’t be seen without a mirror with an extension and there is no room for your fingers or any kind of socket, or wrench. To tell you the truth, I’ve had more fun pulling a very large Charolais calf out of a very small Angus cow using only my arm a chain with a veterinarian’s calf-pulling jack. Anyway, after nearly three hours of jerking around to get this rod installed, it’s finally done!