
|

|
|
|
Marlins Web Site
|
Date: 4-8-2022
|
Number of Hours: 16.00
|
Manual Reference: Sec 12, DWG 45
|
Brief Description: Installing the Cowling Piano Hinges (Cont.)
|
|
I finished installing the rivets on the bottom cowling and then started on the top. Alignment was very critical, so I duct taped the top to the bottom, then drilled the upper cowl hinges, disassembled, deburred the hinges, redrilled with #30 drill-bit, counter-sinked the cowlings, and riveted. In order to get a good backing support for drilling the holes, I cut a small 2x4 support brace and taped it to the #3 and #4 cylinder-head covers. It helped a lot. Even though I braced the hinges when I drilled them, the hinge pins in the aft part of the fitted cowling were very tight. I removed both of the cowlings and redrilled the hinge pin holes in the aft part of the cowlings on both sides. I lightly sanded the hinge pins with Scotchbright to get them as smooth as I could. Then I slathered the insides of the hinge pin gromets with Boelube (a type of wax made by Boeing Aircraft), inserted the hinge pins by attaching a drill and twisting the pins into the gromets. Next, I slowly pulled the pins out while redrilling the gromets, one gromet at-a-time. The pins go in better, but I will still need to work on them by re-accomplishing the Boelube process.
|
|
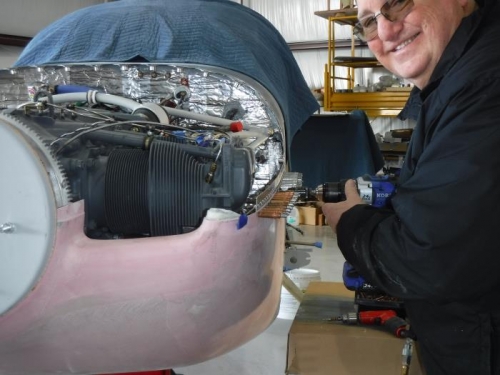
Redrilling the Hing Pin Holes
|
|
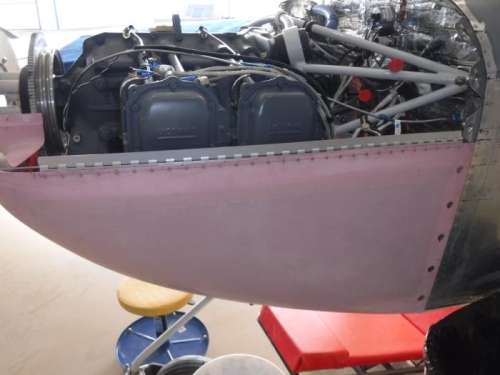
Rivets Installed
|
|
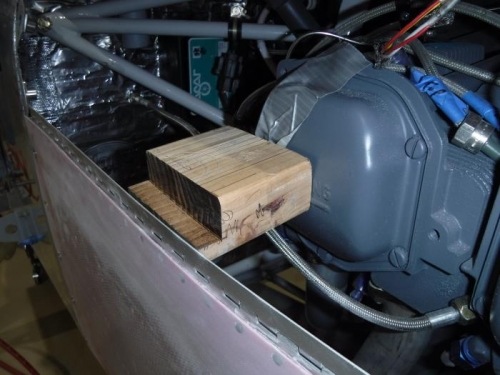
Drilling Brace Taped to #4
|
|
|
|
|
|
|
|
|
Copyright © 2001-2024 Matronics. All Rights Reserved.
|