Brief Description: Drill Cowlings and Rivet Adjustable SkyBolt Recept
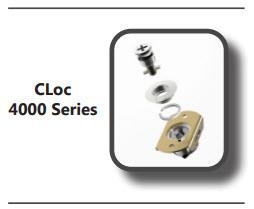
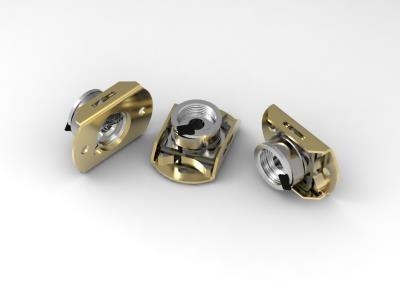
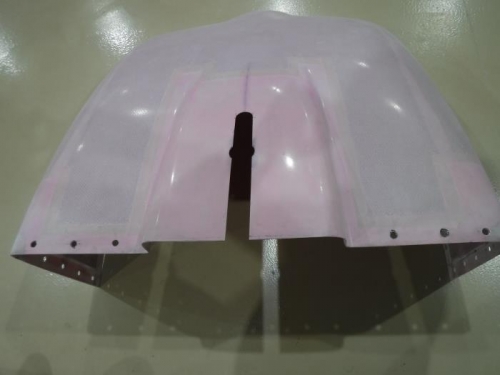
The next steps in fitting the cowlings are to carefully drill the upper and lower cowling holes for the for the SkyBolt quarter-turn fasteners. The first couple of pictures show how the fasteners attach to the cowl. The fasteners are made up of an adjustable receptacle which is riveted to a receiver; already installed. SkyBolt has a centering jig but it is very cumbersome because you cleco it to the bottom of the receivers and it slightly offsets the cowl when you drill. I used this jig for 5 of the 33 holes, but to properly use the jig you have to remove and install the cowling for every hole, which equates to about 30 minutes per hole. I did this for the entire part of entire day. The next day, I decided there must be a better way to do this, so I carefully taped the temporary SkyBolt Cleco Inserts into the receivers, installed the cowlings, and drew circles around the base of each cleco. Then I removed one cowling at a time and used a step-down Unibit to center ½” holes within the drawn marks I made around each cleco. It still took 3 more half-days to fit all the SkyBolts. In the end, I’m pleased with how they turned out.