Brief Description: Windscreen Final Fiberglass Filler and Sealing
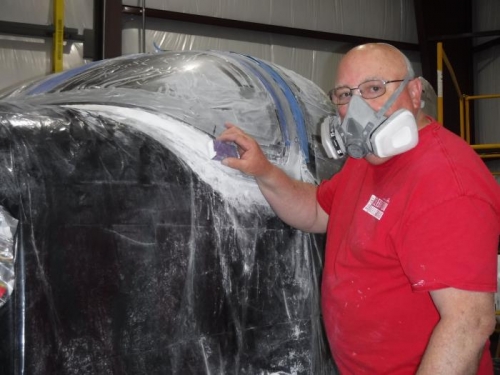
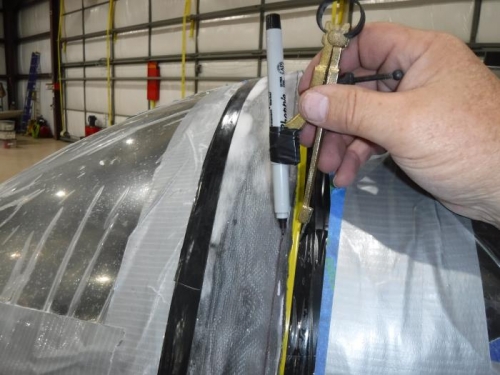
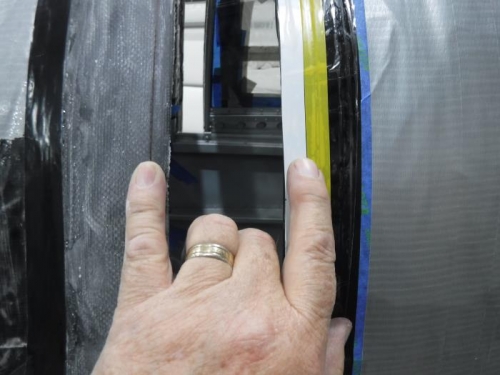
Over the past two months I applied additional strips of glass cloth as necessary to create the “shape” shape of the fairing surrounding the windscreen. After every application of glass cloth, I applied a layer of microbeads to fill in all the pinholes and low spots and sanded with s 60/80/100 grit to get the overall contour smoother and very close to the final contour until I finally achieved a shape that was pretty close to what I thought was perfect. My criteria included: 1.SIDES: Smooth, gradual transition on sides (some bulge is OK but over-all it should be straight) Should be a relatively flat transition from the skin to the canopy glass. Determine if need to fiberglass sides with progressively shorter and narrower strips of fiberglass 2.FRONT CORNERS: Gradually transition towards the front from a straight-to-slightly-outside radius, to a curved inside radius 3.FRONT CENTER: Transitions further into an inside radius (same as sanding block) 4.CANOPY/WINDSCREEN TOP CONTOURS: Transitions from the Windscreen to a “slight” outside radius curve terminating at the canopy I trimmed the top fiberglass that over lapped the canopy and filled underneath the canopy interface with epoxy cotton flox and a rubber seal.