We repeated this process over and over until all the templated pieces were in place. I allowed the laid-out pieces to slightly set up, then applied slightly narrower pieces saturated with resin to get a multilayered “tapered” lay-up. Finally, I stippled-on a final layer of epoxy resin and applied Peel-Ply. This was a seriously long day and we were both glad to go home.
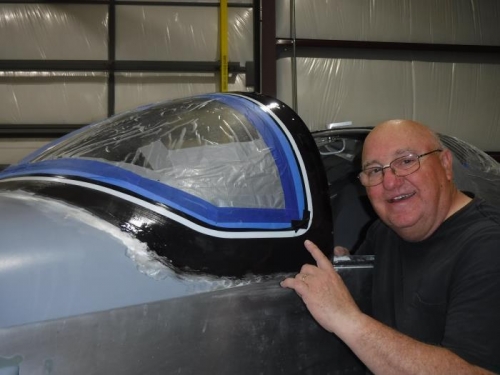
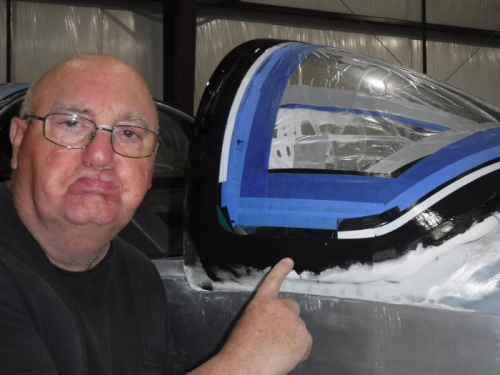
In the first picture you see the first layers of cloth placed onto the windscreen. I am very happy with the corner curves on the windscreen. In the next picture you see my very unhappy face because my cheap electrician’s tape came off and I no longer had a straight line on the plexiglass. I will fix that later when I do the final prep steps for painting. (Essentially, I will move the electrician’s tape about ¾ inch higher all the way around. Other things happened in the coming months, such as I cracked the windscreen right at this same location due to the hold-down clip stress and I improperly used a circular power sander and sanded through the electrician’s tape…All will be fixed by moving the “new” electrician’s tape up ¾” when I apply primer/filler and paint). The last picture is what the saturated Peel-Ply looked like when we were done for the day.