Brief Description: Windscreen – Filling in the Void
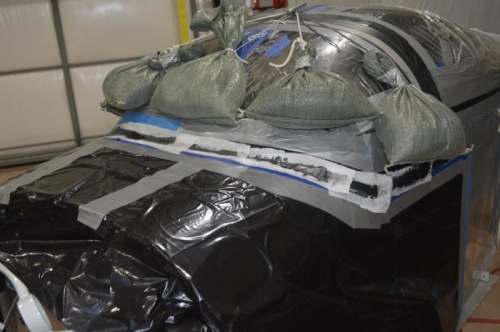
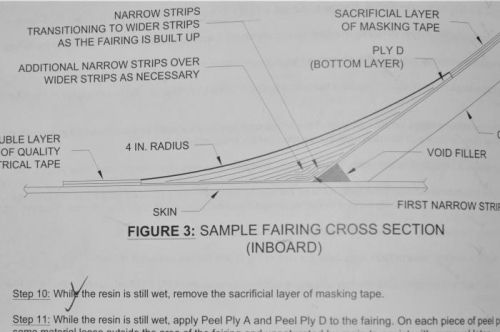
The next step was to mix up some fiberglass epoxy resin with microbeads and black dye to fill-in the “void” area where the windscreen contacts the fuselage skin at an angle. I put the microbead mixture into a Ziplock sandwich bag, cut a small edge off a corner, squeezed the micro into the bag and applied it like my wife does to decorate a cake (not my idea…in was in the excellent RV-14 instructions I was now using). Once the black mixture was applied into the gap, I used a craft popsicle stick to smooth it out into a triangle-shape to fill in the void between the windscreen and the fuselage top-skin. Then I applied Peel-Ply so it would be easy to sand. While this was setting-up, I cut strips of fiberglass cloth parallel to the weave from 1/4” to 2” to be used in the lay-up process. I will later make templates for all the curved pieces. The process is to lay-up the widest, curved pieces, then taper the curve in the front of the windscreen into a 3” radius. I also fabricated a curved sanding block and a radius gauge to make sure the curve is consistent while going from an inside radius to an outside radius as the fiberglass transitions from the front to the sides.