
|

|
|
|
Marlins Web Site
|
Date: 4-12-2021
|
Number of Hours: 5.00
|
Manual Reference: Sec 9, DWG 41
|
Brief Description: Fiberglassing the Windscreen
|
|
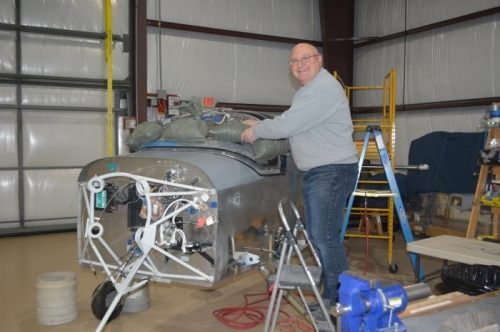
The dreaded time has finally come to fiberglass the windscreen. As usual, VAN’s original RV-7 instructions for this process really suck; however, my friend who is building an RV-14 has excellent instructions from VAN’s for fiberglassing the front part of his tip-up canopy. I will follow those instructions, making modifications as-needed for my sliding canopy and windscreen. So, the journey begins… The first thing I have to do to fiberglass the windscreen to figure out where the edges of the finished glass-work will be on the edges of the plexiglass. Then, carefully mark a 2” offset line with a sharpie-pen onto the windscreen; all the way around the front, sides, and top. I did this using a scribe I modified to hold a sharpie. Next, I carefully applied electrician’s tape to the inside radius of the scribed line. NOTE #1: To those of you who are starting this process and reading my posts; USE HIGH QUALITY 3M ELECTRICIANS TAPE WITH A SUPERIOR GRIP; not a cheap brand from Harbor Freight or LOWES. In about 40 pictures and a lot of wasted time and frustration you’ll see why! I then applied a second layer of electrician’s tape over the 1st layer (you’ll see why soon) and overlapped cheap duct tape onto the existing protective plastic of the windscreen. NOTE #2: DON’T OVERLAP DUCT TAPE PARTIALLY ONTO THE CHEAP ELECTRICIAN’S TAPE AND THE OLD CRINKLY PLASTIC ON A WINDSCREEN THAT IS A BAZILLION YEAR’S OLD. Next, I carefully sanded the windscreen and aluminum skin forward or (outside) the electrician’s tape and with 60 grit sand paper to allow the fiberglass to adhere. Finally, I tied bags of sand together and sat them on the windscreen to weight it down for the best fit.
|
|
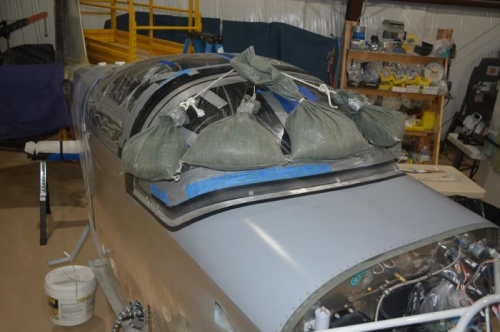
Electrician's Tape applied
|
|
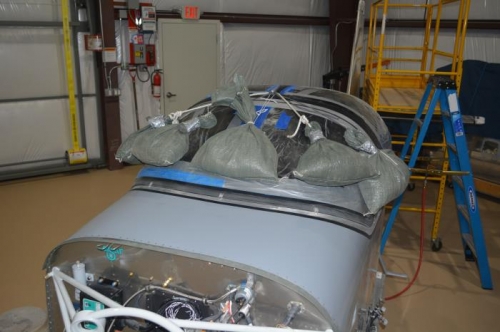
Weighted Sand Bags for Fit
|
|
We're Havin' Fun NOW!
|
|
|
|
|
|
|
|
|
Copyright © 2001-2024 Matronics. All Rights Reserved.
|