Each flaperon skin is one single piece. I used the included straps to carefully fold the skin around the ribs. Using clecoes in every hole may take extra time, but it sure makes the difference in getting the skin to lay down flat. It's best to start in the middle and work your way out to each end, so far no wrinkles or bulges for me. I finally figured out how to get a decent trailing edge!!! I will probably need to drill out the rudder trailing edge and try it again (as soon as I work up the courage!) as I really did it wrong and as a result have a very wavy edge... who knows how it would trim out in flight! I mistakenly just started at one end and riveted along without any support from clecoes... not good!
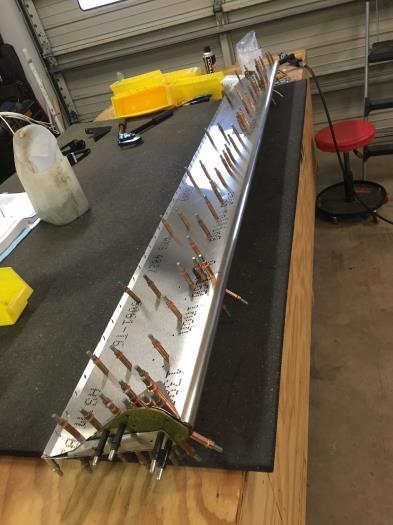
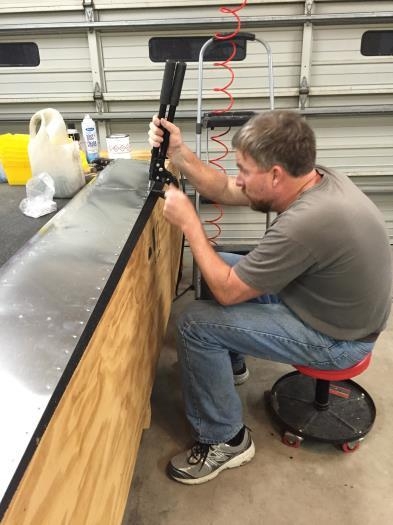
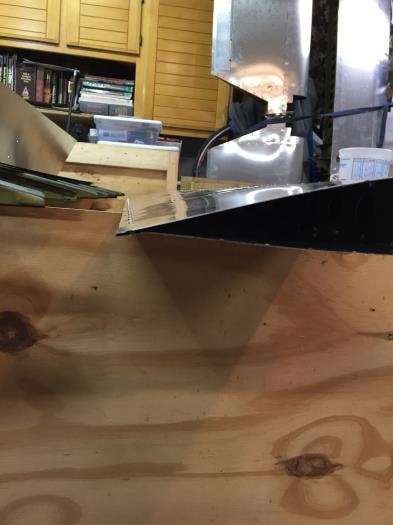
I now realize that once again clecoes are the answer. Like the rest of the skin, it is necessary to place a clecoe in every hole, first start in the middle then work your way out to each edge, alternating back and forth in a balanced manner. Then you pull out the middle clecoe and rivet that hole, and again you work your way out to each end, only removing one clecoe at a time as you place the rivet. This technique results in a near perfectly straight trailing edge. I feel much better about moving on to the wing now that I finally have a satisfying result.