Brief Description: Aux battery box nearly finished.
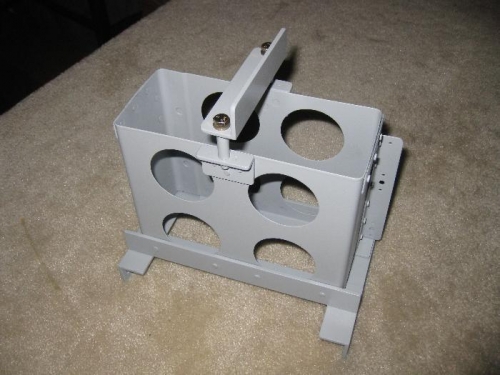
After riveting the steel side braces to the battery box I discovered that the top 1 1/2" of the braces interfered with the rudder pedal movement. This caused me to hacksaw off the interference portion which also messed up the hold-down bar across the top of the battery. Therefore, I had to change my method to to hold down the battery by using a bar fore and aft. This meant that I had to make a couple of angle brackets to rivet to the fore and aft faces of the box at the top middle positions. The angle brackets both have a nutplate riveted to hold the two AN3 bolts that goes through the spacers and connects the hold-down bar. No problem just more work.
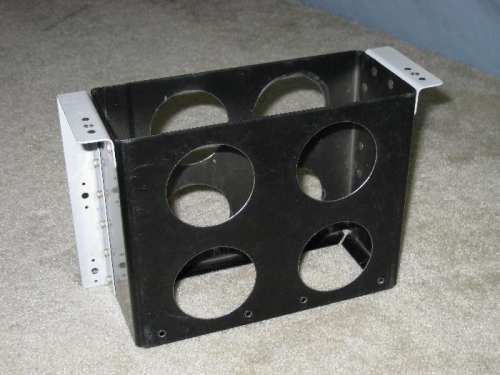
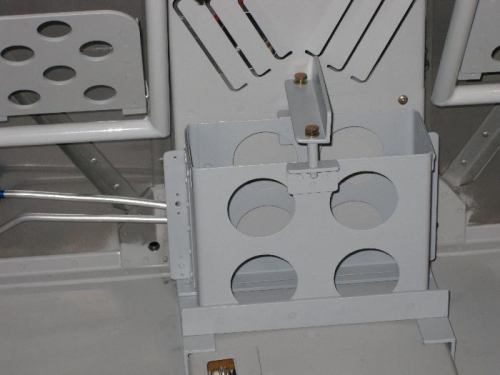
Image 1 shows the box with the full steel brackets while image 2 shows how I had to cut them and attach the angle brackets for the hold-down bar. Image 3 shows the battery box sitting on the tunnel cover in its final position. Note the clearance of the side brackets to the rudder pedals. I may have to put a thermal blanket of some type over the battery in the winter to protect it from the cabin heat which comes out the vents just above the battery. We'll have to wait and see.
This little project took the whole week to complete even though it looks simple. Oh, well, that's airplane building for you!! Next up is installing the Affordable Panels modular instrument panel.
Battery box with the steel brackets riveted to each side.
The brackets were cut off the top and down about 1 1/2" to provide rudder clearance.