Brief Description: Riveted canopy plexiglass to frame.
We thought today would never come after all the struggle building this canopy. It is definitely the most difficult part of the project so far.
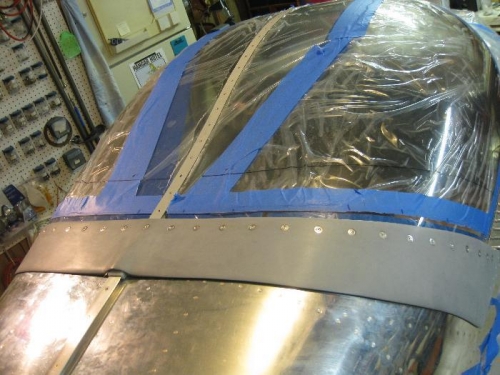
Bolted the anchor blocks (keeps the canopy from rolling out of the roller tracks) back on to the longerons. Put the canopy frame back on and bolted the canopy frame to the rollers and bolted on the rear slide (plastic) block which slides on the slide rail on the fuselage. I then put a bead of Lexel (better than silicone supposedly) on the center, rear, and forward bows to help dampen vibration and seal for rain. We then laid the plexiglass canopy on to the frame and clecoed the center and forward cover strips (also a bead of Lexel) through the plexiglass into the bows to hold everything together.
I got in the cockpt to pop-rivet the side skirt braces to the inside edge of the rectangular side bows. We installed the #6 screws to the plexiglass after clecoing (bead of Lexel) on the side skirts. I was inside the cockpit adding the washers and nuts while Charlotte held the screws with a Phillps screw driver.
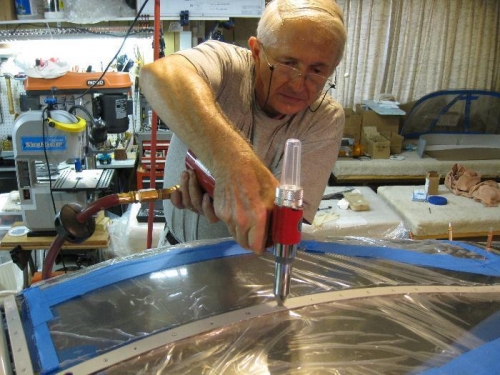
I then pop-riveted the top cover strip through the plexiglass to the center bow followed by the forward cover strip to the forward bow.
We pop-riveted the side skirts to the side bow but left the squeeze rivets to do tomorrow (bottom row of rivets that go into the brace and rear skirt).
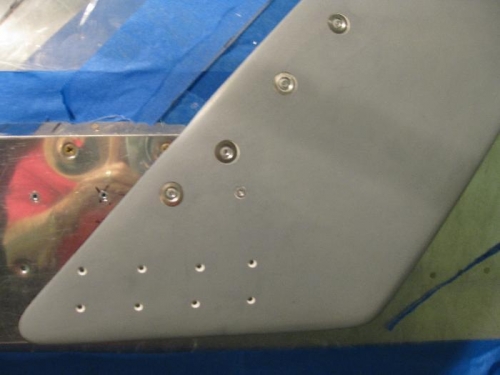
Finally, we pop-riveted the rear skirt making sure that we didn't forget the Tinnerman washers.
It all went as planned and quicker than we thought it would. Yippee!!!
Using pneumatic pop-rivet gun on top cover strip.
All the rivets into rear bow tube have countersunk Tinnerman washers that are recessed.