Brief Description: Installed sticks and drilled elevator horns.
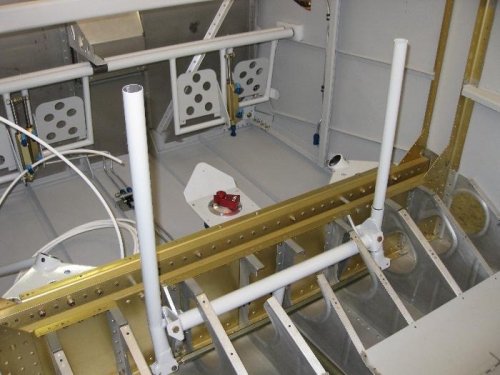
With the forward elevator pushrod now connected to the elevator bellcrank and the AP pitch servo installed, I decided it was time to installed the control sticks. The sticks are conneted at the bottom ends by a rod. Connecting the rod was not difficult except for those little washers on the inside of the clevis and on both sides of the rod ends. The Avery tool worked its miracle again.
We brought out the horizontal stabilizer with the elevators attached from the front bedroom where it had been stored for many months. We clamped it to the carpeted work benches and let the elevators hang over the side so I could reach the elevator horns for drilling. We clamped both elevator balance arms to the HS so they would match up the horns. One horn was slightly aft of the other.
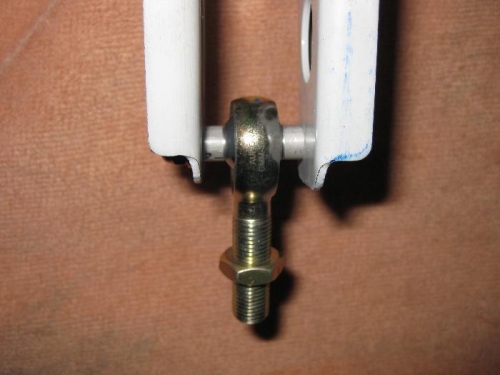
A hole must be drilled perfectly perpendicular through both horns. I made a hardwood spacer using my Delta horizontal/vertical sander for the first time. It made two perfectly smooth perpendicular faces on the 0.9" wide spacer. I drilled a perpendicular hole in the spacer on the drill press. I had already drilled a pilot hole on the slightly aft horn and then I clamped the spacer between the horns. I drilled the other horn through the spacer hole which made a perfect perpendicular hole. It worked just as Van's manual had described. I final drilled the holes to a #12 size for an AN3 bolt. The aft elevator pushrod connetcs to the horns. I made two spacers from T6 aluminum tubing to fill the gaps between the rod end and the elevator horns.
Control sticks installed into control column with rod connected to end of sticks.
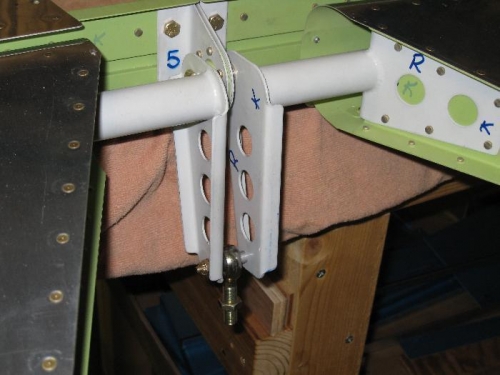
Horns drilled with bolt and spacers and rod end installed.