Brief Description: Started Dynon pitot/heat installation.
Today I started installing the Dynon pitot tube/heat installation. I had previously decided to install the pitot on the next rib outboard of the bellcrank inspection access. The left bottom outboard wing skin had already been drilled and dimpled using the Gretz mount hardware and plans.
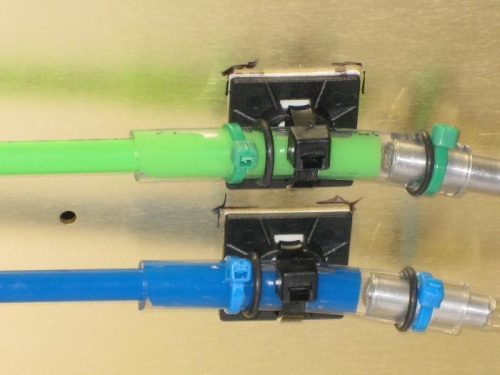
I changed my mind about using the SafeAir1 tube couplings because of their weight and no really good way to hold them to the spar web without drilling holes into the web. I used clear vinyl tubing on the aluminum tubing of the pitot. I inserted small lengths of aluminum tube into the vinyl tube so that I could use zip ties to hold a larger vinyl tube with a 1/4" ID over the 1/4" OD vinyl tube. The green and blue SafeAir! plastic tubing are1/4" OD also. When both were connected by using the 1/4" ID vinly tube, I used an O rings inside the zip ties to provide constant circumferencial pressure to prevent air leaks.
The connected tubes are held against the spar web with zip tie mounts that were glued to the spar web with E6000 adhesive. The pitot, tubing, and wiring will be connected through the bellcrank access once the bottom wing skin is riveted.
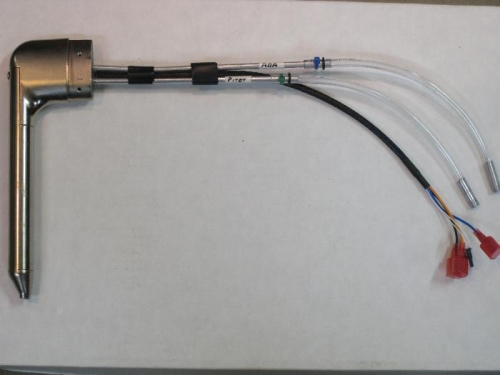
Dynon heated pitot with vinyl tubing to be used for connections.
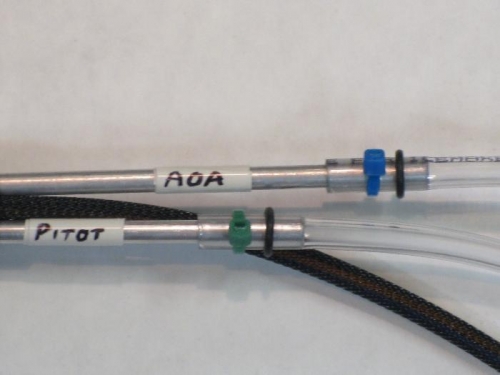
Closeup of vinyl tubing connect to pitot aluminum tubes.
SafeAir1 colored tubing connected to the vinyl tubing.