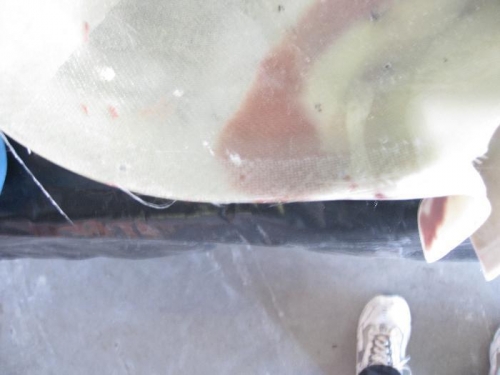
After arriving at the hangar, Charlotte started working on the wheel pant nose caps while I started marking for rivet hole spacing on the fiberglass plenum. She used her glass cloth (between clear sheets of 2 mil plastic) method, to make the 1" strips to epoxy to the inside attach edge of the nose caps for the main wheel pants. She mixed the epoxy and saturated the glass cloth and then cut through the plastic and cloth to make the strips. She removed the top plastic from each strip and then placed the wet side of the strip onto the inside edge of the nose caps. Once placed she removed the other side of plastic from the strp. Nice and neat.
I marked the spacing for -4 rivets across the aft edge of the plenum that will be riveted to the aft baffle attach angles that were clecoed to the baffles. We then taped the plenum to the baffles to hold it steady in place while I match drilled through the fiberglass and the angles. Charlotte guided me again to keep drilling perpendicular to the surfaces of the plenum as I match drilled the fiberglass to the angles.
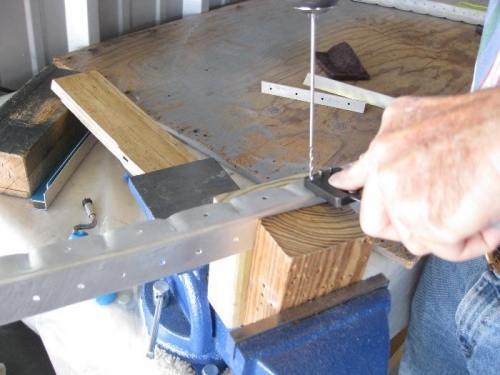
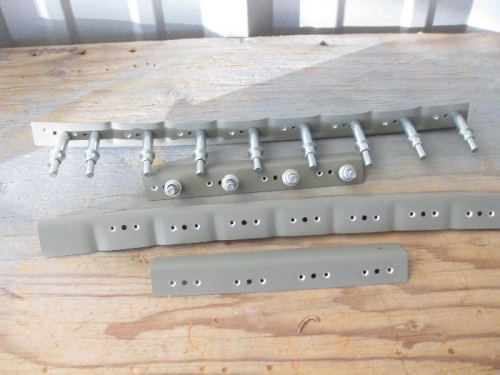
After drillilng we removed the angles and deburred, scuffed, and primed with a rattle can of primer paint. We then drilled the nutplate rivet holes. Charlotte then clecoed the nutplates for me to rivet tomorrow. Enough work for another Sunday.
The 1" strip of glass cloth is hard to see on the inside edge of this nose cap.
Using the nuplated jig to drill for the nutplate rivet holes.
Aft baffle angles primed, drilled, and nutplates clecoed for riveting.