Brief Description: Installed PowerSchottky diode for E-Bus.
I had installed an AeroElectric Schottky diode which shorted to the subpanel when I tested it. The installation proceedures used a very thin silicon pad for insulation (which obviously wasn't enough) from the subpanel where I mounted it. Of course it was ruined, so I searched for a replacement and found the PowerSchottky diode on the PerihelionDesign.com website owned by Eric Jones. It was a little more expensive than Bob Nuckolls' diode but much easier to install and much more robust. It will carry up to 60 amps with a heatsink but my E-Bus loads max out at about 15 amps, therefore, I don't need the heatsink.
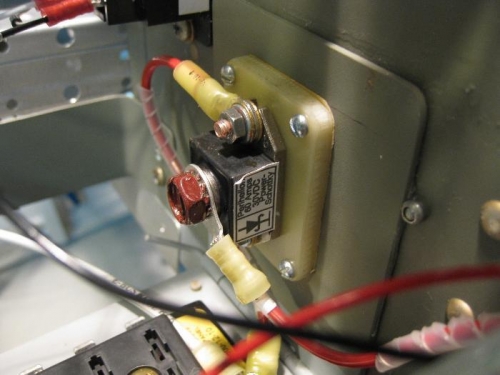
As you can see in the pictures, the diode is mounted to a fiberglass isolator (extra) which insulates it from the subpanel. The isolator has four holes in the corners for up to #6 screws, but I used #4 x 1/2" screws since I had them on hand. I just drilled the four holes and used the screws, washers, star washers, and the nuts with Vibratite in the screw threads to secure it to the subpanel. I had to recrimp on a 1/4" ring terminal to the wire from the Main Bus and a #8 terminal to the wire from the E-Bus.
I tested the diode by putting the battery in and applied the flap and trim loads to both the Main Bus and E-Bus. I then put the battery in the Aux Bat position and used the E-Bus Alt Feed Switch to be sure the diode did not backpower the Main Bus. Everything checked good!
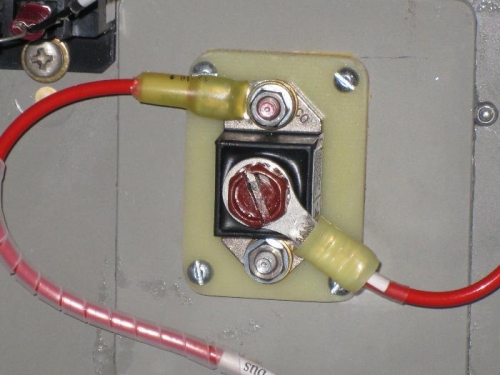
PowerSchottky diode from Perihelion Design, very robust module.
The diode is mounted on a fiberglass isolator to prevent shorts to subpanel.
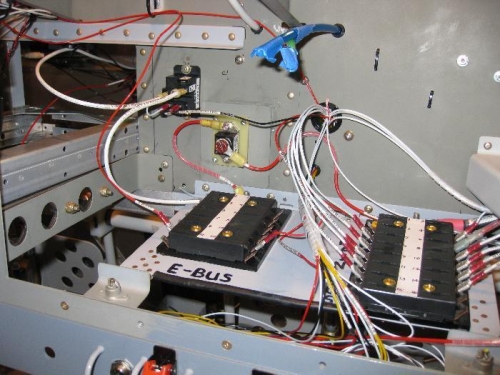
Installed just above E-Bus on the subpanel and just below and to the right of the Alt Feed Relay.