Brief Description: Still working on Aux Battery box installation.
Today I attacked the steel battery box. Lightening holes (2" diameter) were cut using the Rigid Hole Cutting Kit that I purchased at Home Depot. Cutting steel is a slow and tedious (noisy) process that can't be rushed. I clamped the box to the drill press and used a generous amount of BoeLube but it still took about 2 1/2 hours. I put a couple of oak blocks inside the box to backup the the drilling and cutting which made the process much more safe since it adds weight and ridgidity to the box. Before using the hole cutters I drilled the center pilot holes with a 3/16" bit. The whole process creates a lot of noise and smoke. Deburring the holes is a real pain. I used a large rat tail file but finished with a die grinder and conical stone. I finally smoothed the holes enough to not worry about cutting my fingers while handling the box.
I then match drilled the two side braces, deburred the holes, and dimpled the holes from inside to out to use flush rivets (AN426AD4-4) to attach. I went to Batteries Plus with the box to see how an Odyssey 680 fits. It's a tight fit, so thats why everything inside the box has to be flush. I'll buy the batteries later. I had built the firewall battery box before so the entire process was familiar but it's still time consuming and tedious. Tomorrow I'll scuff, prime, and paint using black barbaque grill paint.
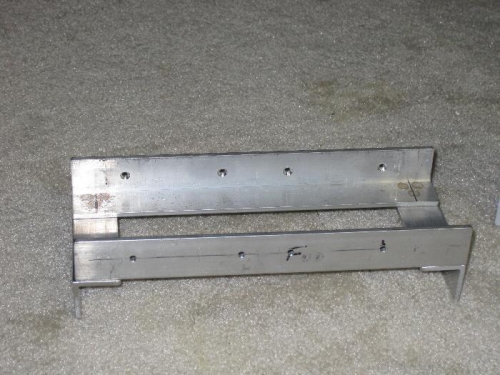
Aluminum angles drilled to accept battery box.
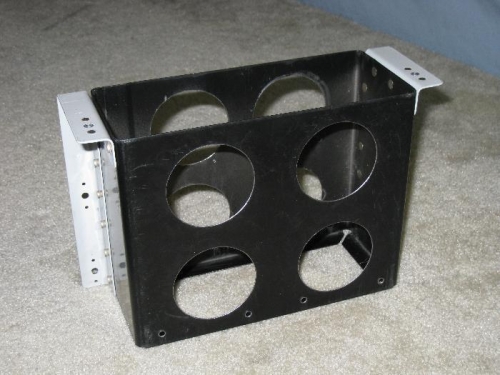
Battery box with lightening holes and side angles riveted.
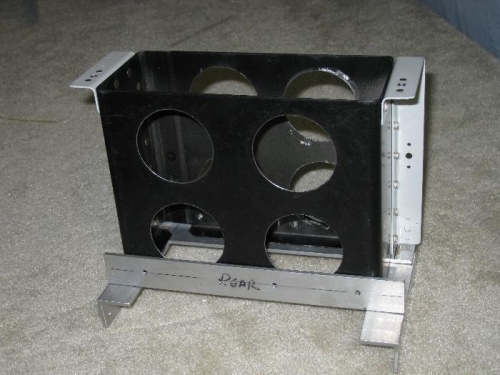
Battery box inserted into angles but not yet riveted at the bottom.