Brief Description: Panel cuts for the transponder and the SL40
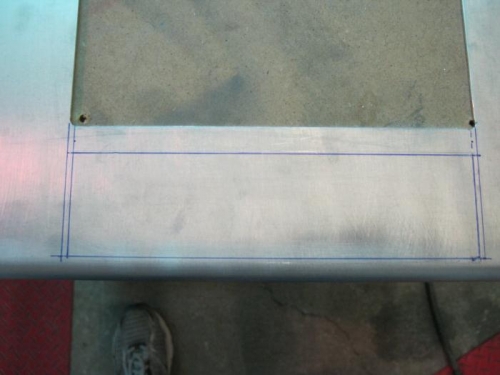
1 took and hour or so to determin what size I should cot the holes and then lay out the cutout lines. The transponders mounting trey is longer on bottom than the other 3 sides and will rest on the bottom cut. The other 3 sides will but up flush against the back side of panel and the panel cuts only big enough for the transponder to slide in to reduce the amount of cisible cuts after installation. The cuts for the Garmin SL40 comm needs to be enough for the trey to almost fit in the hole or atleast the aft part of the comms bezel. This is due to the bezel mounting tabs that fit into the notched area of the trey. A pain in ....... But Thats how it goes in I guess.
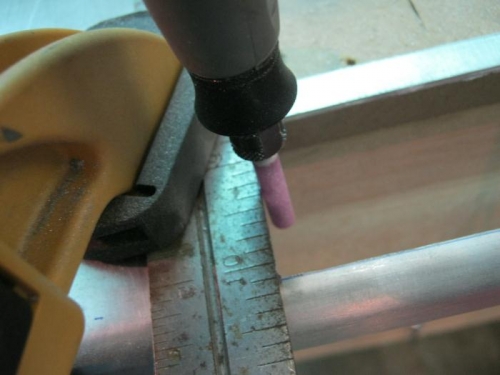
2. Once I had the lines laid out, I centered punched for a #27 drill in the corners to provide a radius. I then used a steel carpenter ruler to use as a safety guide/fence for the dremel cutting. Clamped the guide in place on each line and cut. Once the cuts were made I went back with a rotary file and with fence re set, I took the edges down to the line. Then it was a matter of many repeated test fits and hand file and polis for final fit. This part still needs some final tweking for later but sems to be going ok so far.
Lay out cut outs for transponder an radio comm
Using a rotary file to finish the cut dimensions
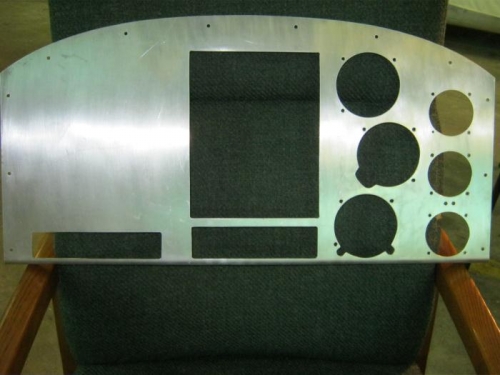
Cut outs made but some fine tuning for fit required