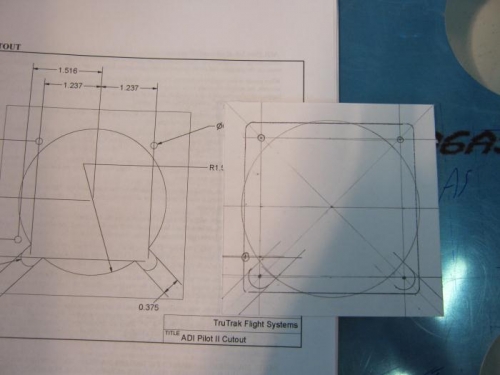
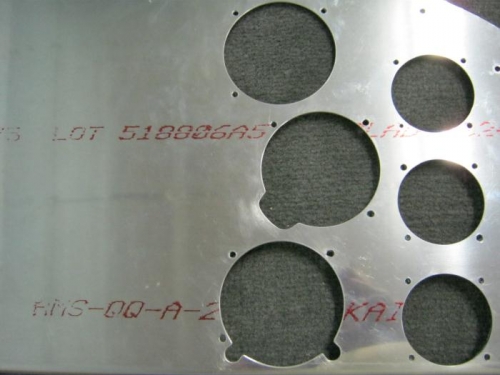
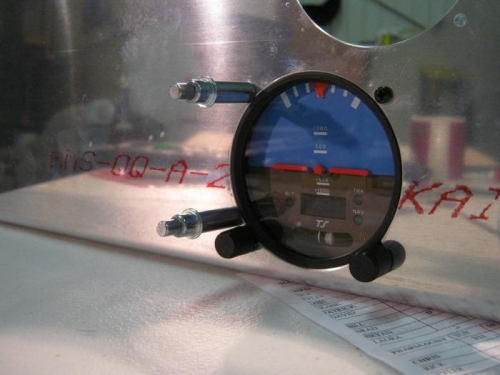
Made a card paper template for the trutrak ADI 2 control head and acurately as I could, transfered the card to the panel and drilled the mount holes 5/32. Also transfered measurements for the lobe cuts on the bottom for the control knobs. Used drill press to cut the radius required in the lobes and then filed and polised the lobes for fit. When I trial fit the gauge, 2 of the mount holes didnt line up! So I carefuly filed the holes open a bit until the screw fit. Not happy about it but it looks good when installed. I spent a significant amount of time on this fitting and still ended up with less than perfect alignment. Argh!
Moved on to the altimeter fitting by making another paper jig, tranfering and marking, drill mount holes and then start on the lobe cut out for the knob. This again took me for ever and then again had to open up a mounting screw hole slightly for fit.
Deburred everything and polished up.
Somehow I managed to drop my airspeed indicator on the bench and managed to snap off the knob stem for the presure adjustment! Dang! I havent even installed it yet and now I need to send it out for repair!! Double dang!!
Template for the trutrak-needed for the bottom lobes and one screw hole