Brief Description: Front and rear rudder pedals day 3
1. Painted the release rudder pedal release handle with Vans touch up paint to match the powder coat finish
2. Installed the required cotter pins in all the castle nut/An3 and 4 bolts on the rudder pedal and brake pedal assembly maintaining just enough torque to keep free and unbinding travel/operation. The An4 bolts on brake pedal posed some difficult as the hole in bolt would not line ud in castle nut slot for the cotter pin. Taking out one washer would do it but there was a small gap that I didnt like so elected to use a cotter pin for a dash 3 bolt for now. I can change that out later if needed.
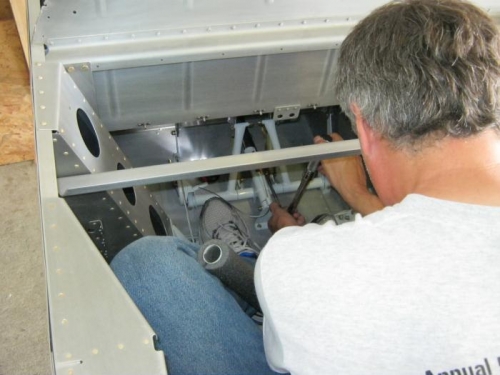
3. Instaled the front brake/rudder pedal assembly to the front cockpit floor and firewall.
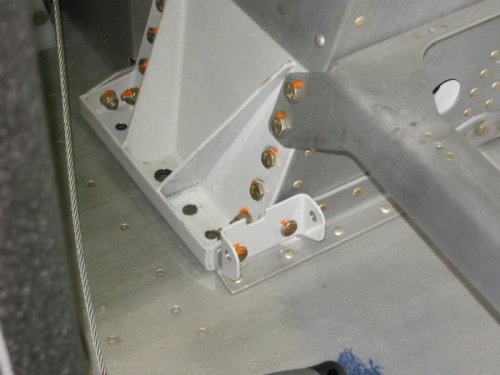
4. Installing the idler brackets for the rear seat pedals by first removing two bolts at aft side bottom of gear towers, positioning the bracket where the bolts were and then marking the hole location on rear side of brack with a shrt drill bit. Remove bracket and drill and deburr. check for fit. bevel bottom edge to fit in radius of the angle and bolt in place with slightly longer bolt. Note: the nut and washer is a royal P.I.T.A! to reach and then tighten. Took awhile to do.
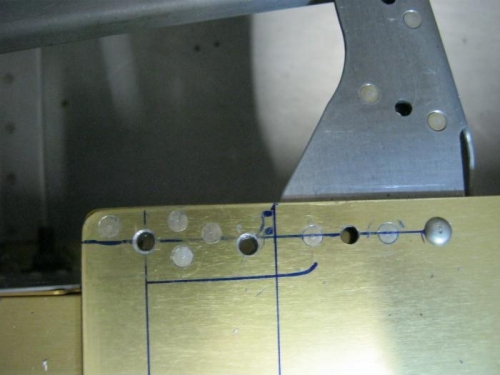
5. The guide bracket install is next. Drew refrence lines as called for on op5 and pg1 but did not draw the tic marks. drew a line that marks the edge of the underlying brace(see pic) and then placed the lug type plate nut on the center bulkhead as shown in plans along side the other platenut and up close to the brace. Its a tight fit but it worked. I center punched one rivit hole and drilled it, clecoed, drilled the second hole. Then I Installed the guide bracket and cabin cover in place with a screw and some clecos to maintain postion and pilot drilled the screw hole in lug plate nut. It does require being lined up on ref lines and thus it came out real nice. Removed everthing for deburring and then riviting and priming.
6. Temporaily installed the left side bracket and guide w/o the cabin cover this time to allow for access to fuel Line
Sitting my aeroplane bolting in the rudder pedal assembly. Didnt I make a rotisserie?
Idler bracket installed. Note the torque seal on weldment bolts? see note above
Left side refrence lines. Rt side came out better with screw holes exactly centered on line.