Brief Description: Installed 5 More Grommets/Studs in Top Cowl
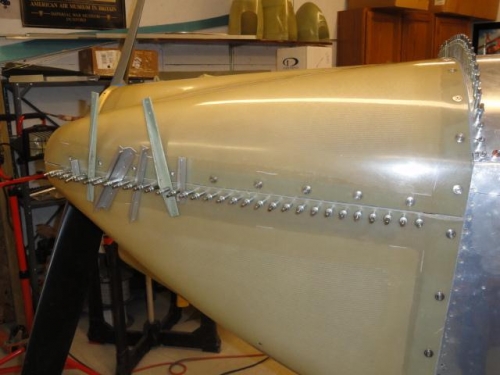
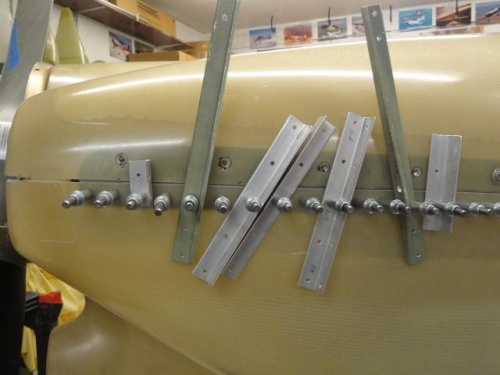
I took off the top cowl and sanded the edge for a short length at the front of the left side. I enlarged the two aft holes along the left side of the top cowling with the Unibit. Grommets and studs were installed and then the cowling was repositioned in place. The next three holes forward were marked for enlargement and the cowl was removed. The holes were enlarged and the grommets and studs were installed. The cowl was again put back in position and angle brackets were clecoed in place to force the two cowl halves together in order to check the last four holes for the grommets. I also pulled the anti-locking pins for four of the five receptacles.
Visitor-Joe Walker--He returned the flat rivet set I loaned him. I gave him the pneumatic cleco installer to borrow.
The left side with five grommets and studs installed