Brief Description: Installed Fastener Grommets and Studs
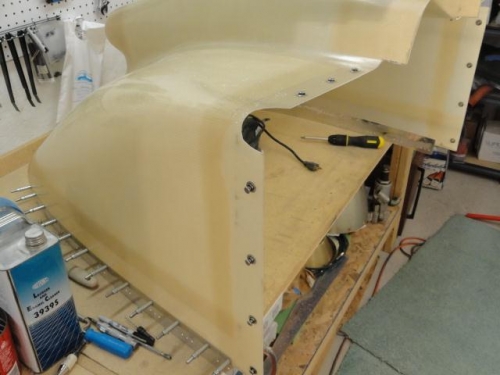
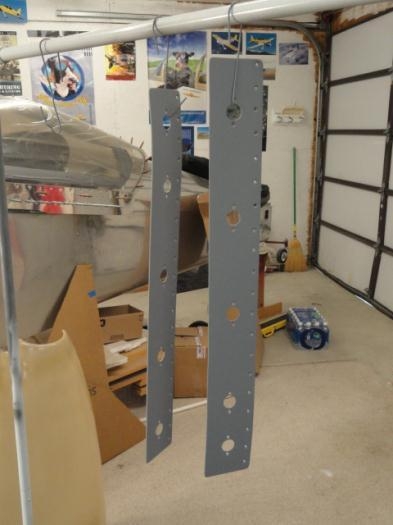
I drilled out the side holes in the lower cowling and inserted the fastener grommets and studs. The side braces were cleaned up and primed. The camloc receptacles were then riveted to the side braces. I riveted the side braces to the firewall flanges and side skins using the pneumatic squeezer for most of them. There are a few holes that still need to be riveted. I need to get my no-hole yoke back to be able to rivet the last few.
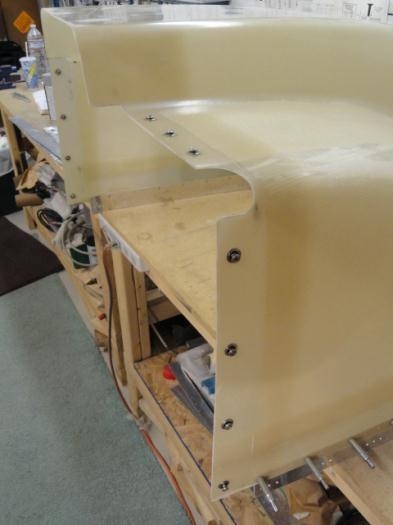
I laid up the lower fuselage into position and fastened the camlocs all around. The fit of the cowling is very good!
The top cowling was put into place and it looks like the left side was trimmed back a little too much on 1/9/11. Now that the lower cowling is tight in place, there is a large gap on the left side even though the aft end of the top cowl is clecoed. Jeff suggested that the right side camlocs should be installed next to fix that side in place. Then the aft holes could be adjusted to attempt to move the cowling more to the left side. This might close some of that gap.
I took the right side brace off and began to enlarge the center holes for the receptacles.
The right side of the lower cowl with grommets and studs installed