Brief Description: Assisted with Trimming the Cowling
Tim Conway assisted me with doing the last major trimming of the cowlings. The lower cowling was pushed into place and the top cowling was clecoed to the side brackets at the front and back holes. The other holes in the top cowling had to be altered upward to match the camloc holes drilled in the side brackets. We took the two brackets off the top front of the top cowl and let the cowl sag down a little. The rest of the cowling is looking good!
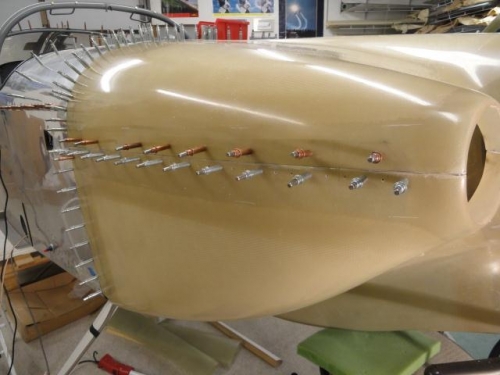
We took the cowling off, as well as the two bottom brackets for the camlocs. I cleaned up the brackets and primed them. Using the pneumatic squeezer, Tim and I riveted the camlocs to the brackets. I used the pneumatic squeezer and the rivet gun to rivet the left bracket to the firewall flange, except for the outboard rivet. Tim riveted the right bracket to the firewall flange, except that he placed the bracket under the flange, instead of on the inside of the flange. I drilled out the rivets, as well as one camloc that needed to be reversed. The camloc was reriveted in place. I did not do a neat job of drilling out the rivets, enlarging some of the holes. I enlarged the holes in the right bracket and the firewall flange to #30. Using some Oops rivets, 4-5 length, I riveted the bracket to the firewall flange.
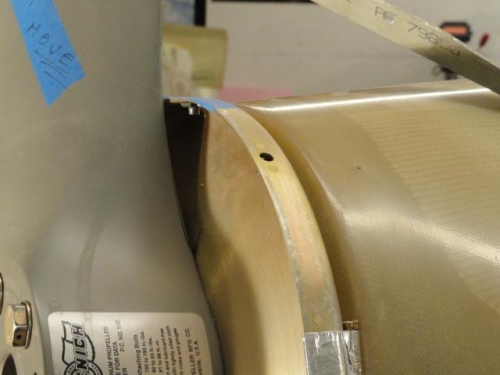
The right side after trimming
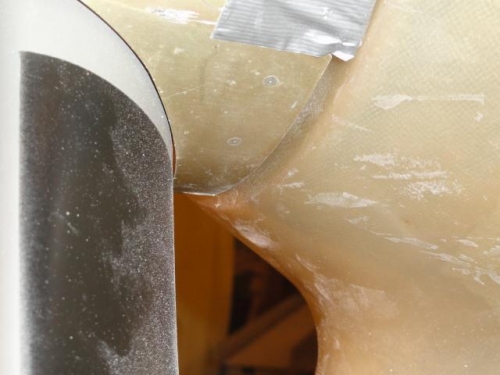
The top cowl was allowed to drop down slightly after trimming
The lower cowling dropped about 1/4" after trimming