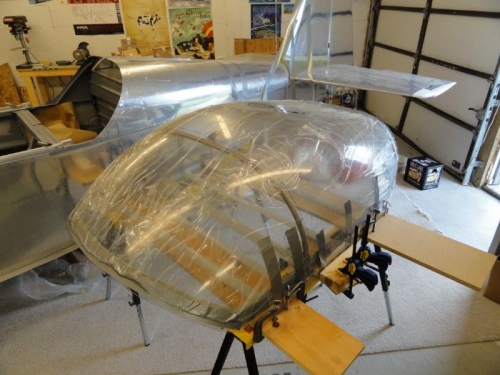
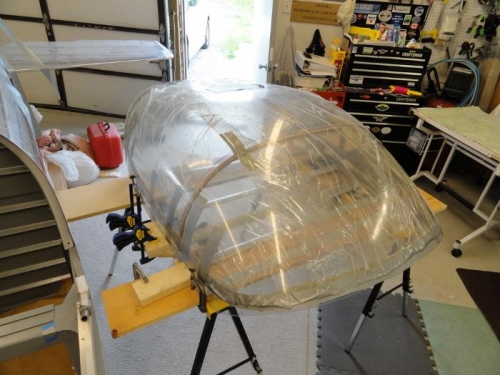
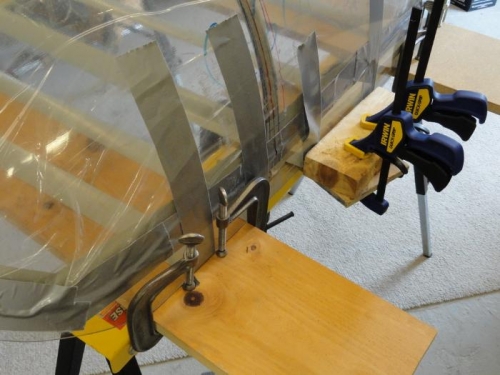
I finished sanding the leading edge of the canopy and pulled the tape back more. I borrowed sawhorses from Jeff and placed two 1 x 8 boards across them. I taped the canopy frame to the inside of the canopy and ran strips of duct tape across the bottom, pulling the sides together. I then placed the canopy on the boards. I placed clamps along the outsides of the canopy to prevent the canopy from spreading while I made the big cut. I double-checked the alignment of the frame inside the canopy and confirmed the red lines outlining the frame were properly positioned. I drew a black line parallel to and forward of the frame for a cut line. After I checked the canopy again to ensure that it would not move during the cut, I began. I started at the bottom left side of the canopy and proceeded to cut across the canopy. As I made the last third of the cut, Jeff held the windshield for support. I rushed thru the last part and melted, more than actually cut, the canopy.