Brief Description: Assisted with Wiring Ammeter Shunt
Tim Conway showed me how the ammeter shunt should be wired, using Position A as noted in the Dynon installation instructions. This position will allow the ammeter to show the current flow into or out of the battery. The ammeter will show both positive and negative currents, -60A to +60A.
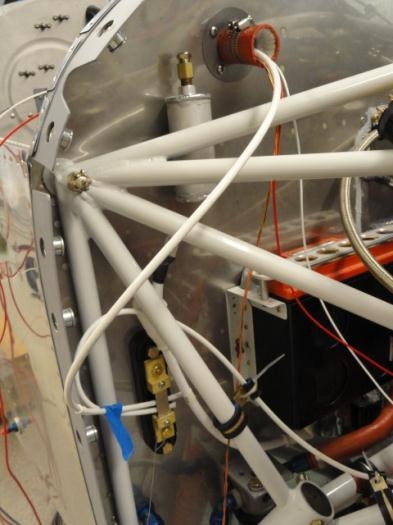
The alternator wire provided in the Van's wiring kit will be screwed onto the alternator and then terminated at the top end of the shunt, along with the wire from the alternator circuit breaker. The lower terminal end of the shunt will have a wire from the master relay terminate there. The alternator wire was run from the circuit breaker panel thru the subpanel and the firewall.
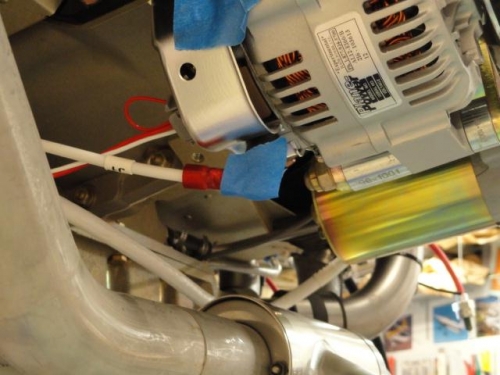
A star washer needs to be used to connect the alternator wire to the alternator.
The alternator and wire
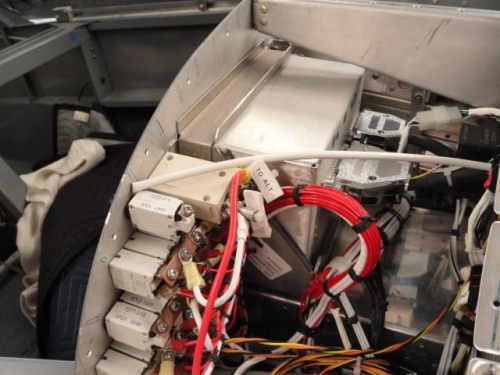
The wire from the alternator and the breaker panel