Brief Description: Headset Jack Wires Run/LEMO Plug Wires
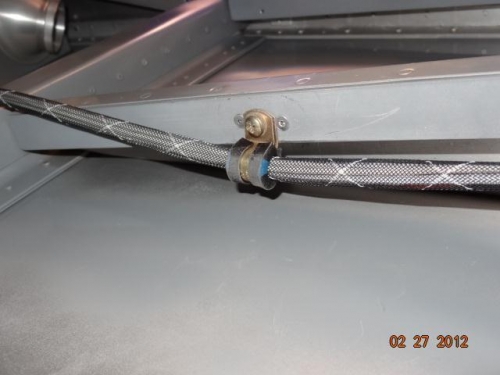
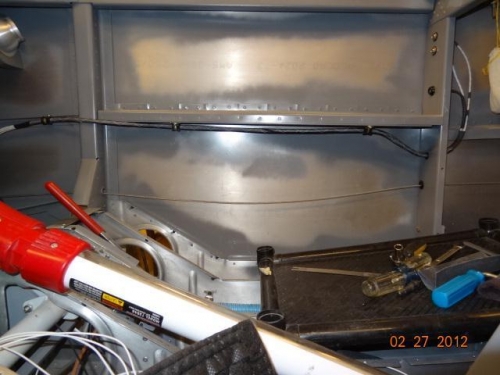
All of the headset wires were labeled by the jack and at a point about four feet farther along. The mic and phone jacks were screwed in place on the left bulkhead. The wires were run through the grommet and the bulkhead. Two screw holes were drilled in the underside of the armrest bracket so that the wires could be clamped underneath. The wires, including the LEMO wires, were run through about three feet of wire sleeve. The wire sleeve had heat-shrink applied at both ends. Adel clamps were screwed in place holding the wires under the armrest. Another hole was drilled forward of the next bulkhead and another clamp used to hold the wires.
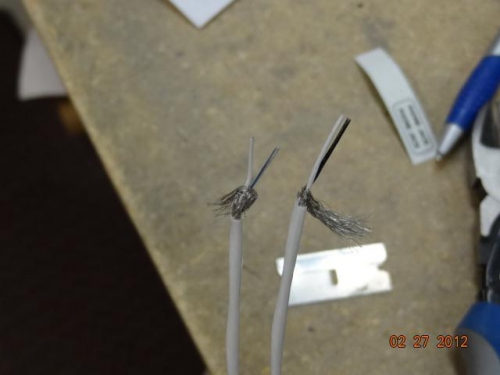
I spent too much time attempting to get the washer and nut onto the screw holding the headset jack wires to the underside of the right armrest. The aft Adel clamp and screw were finally installed. To save some time, I drilled holes in the bracket under the armrest and riveted nutplates with CS4-4 pull rivets. I studied the LEMO wiring more carefully and stripped the ends of the shielded wires. After studying the wiring diagram again, I finally understood that the LEMO wires needed to be soldered to the mic and audio jacks, instead of being run forward.