I riveted the AOA squat switch bracket to the aft center support, F-6xx. I then drilled two 3/16'' holes in the left side flap cover so that the cap screw heads can fit thru. The screws will hold the AOA squat switch in place on the bracket. I attached the Showplanes Flap Positioning System to the flap actuator. I called Brian at Showplanes to see which version I had; I have the three-position system, with stops built in at the 10/20/40° positions. I drilled and located the control box to the aft vertical flap support with #8 screws. I ran wires for the FPS and the AOA. I cut off a 12'' length of black 22 gauge for the AOA ground. I ran another 12' length of white 22 gauge for the AOA switch. I ran two 12' lengths of white 20 gauge for the FPS extend and retract wires. I ran another 12' length of white 18 gauge for the FPS power wire. I taped each pair of wires together.
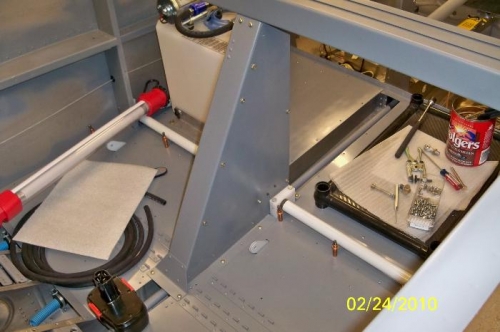
The flap cover in place
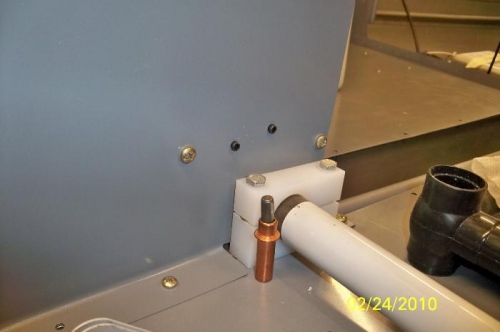
The left side flap cover with holes for the cap screws
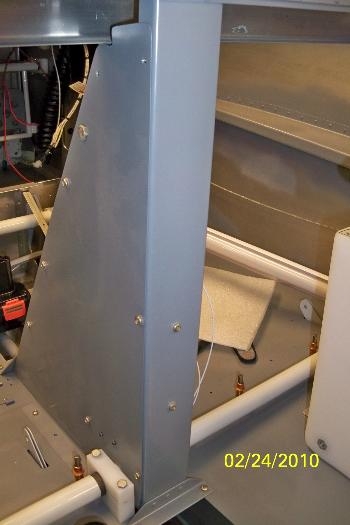
The FPS control box screwed to the aft center support